
Food Photography Tips: Lighting, Setup, Props & Composition
Practical food photography tips for restaurants, brands, and content creators — from lighting and composition to styling ideas that make food look its best
June 8, 2026 • gradepixel
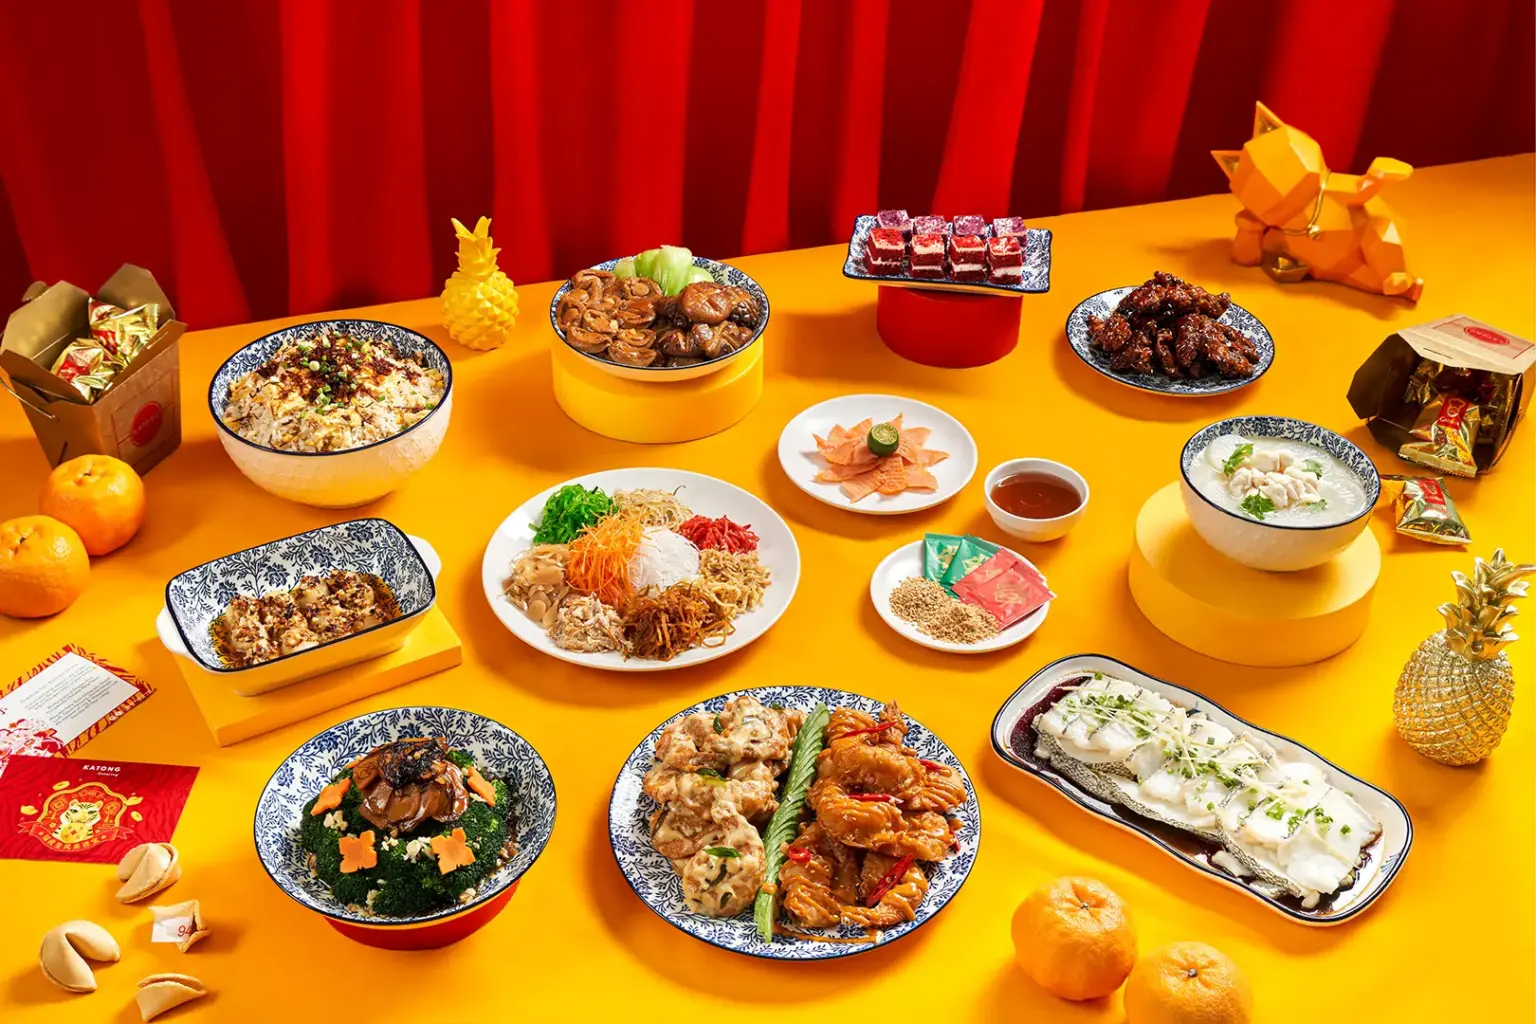
Food photography tips are practical techniques for improving how food is lit, composed, and styled in images — covering camera angles, lighting configurations, background choices, and prop selection. Applied correctly, these principles produce images that perform on delivery platforms, convert in menus, and hold up in paid advertising campaigns.
Light Is Everything
Lighting is the single factor that separates professional food photography from everything else. The same dish, photographed with different lighting, looks either appetising or flat — nothing else changes.
Natural Light
Natural window light is the most accessible starting point. Position the food 60–90cm from a large window, with the light arriving from the side at roughly 45 degrees. A north-facing window produces the most consistent light throughout the day. For harsh direct sunlight, diffuse it by taping white tracing paper or sheer fabric across the pane.
The limitation of natural light is inconsistency. Colour temperature shifts throughout the day and changes dramatically between cloudy and clear conditions. For shoots that need identical results across 20 or 30 dishes, that variability becomes a post-production problem — easier to eliminate at source than to fix afterward.
Artificial Lighting — LED Panels and Strobe
Continuous LED panels give you full control regardless of time of day or weather, and what you see on screen reflects the actual exposure without guessing. Look for panels rated at 5,500K with a CRI of 95 or above — panels below CRI 90 introduce colour shifts that are particularly noticeable in food where accurate colour is critical.
Strobe lighting with large softboxes is the professional studio standard. A single strobe head with a 90x90cm or larger softbox, positioned at 45 degrees to the side and slightly above the food, produces soft, wrapping light that reveals texture and reduces harsh shadows. A strip softbox placed behind and to one side creates rim lighting that separates the dish from the background — particularly effective for glass, liquid, and reflective surfaces. In both setups, a large white reflector on the fill side handles shadow density without adding a competing light source.
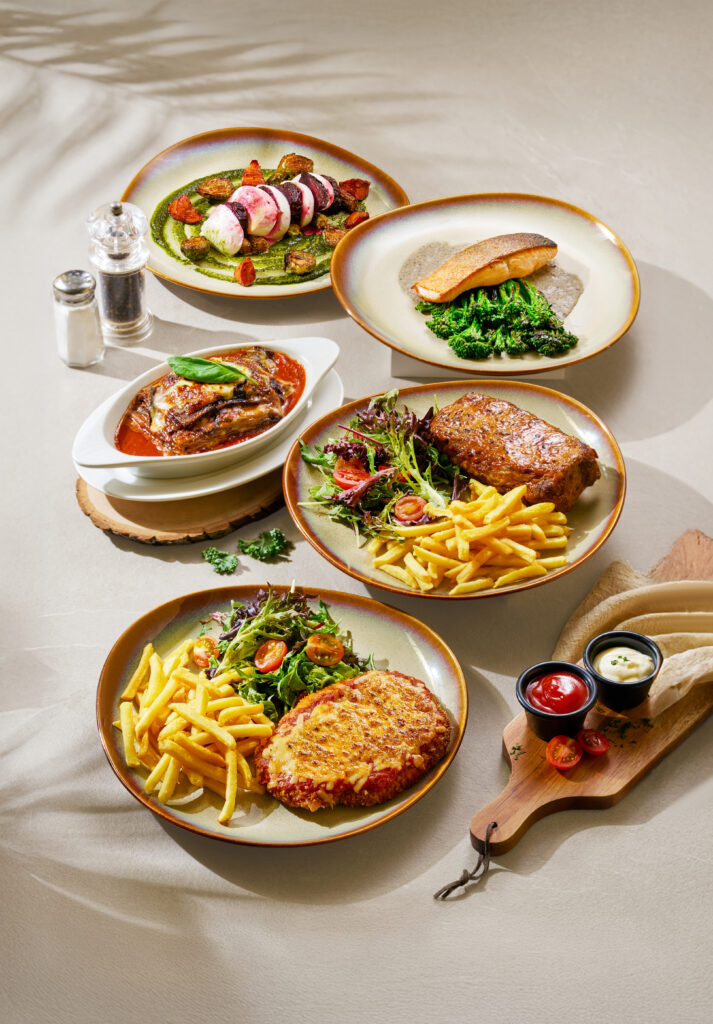
Common Lighting Mistakes
The most common mistake is overhead top-down lighting — positioning a light directly above the food. This flattens texture and makes every dish look like it was shot under a ceiling fixture. Side lighting is non-negotiable for commercial food work. Mixed colour temperatures are another frequent issue: daylight from a window combined with warm indoor lighting creates a colour cast that is genuinely difficult to remove in post-production. Use one source type and block the other. Dark food on a dark background is a third trap: insufficient light in this setup produces muddy, flat images. The solution is more directional light, not less.
Lighting quality determines what the food looks like in the image. The angle determines what story it tells.
Shoot Angles That Work for Different Dishes
The right angle depends on what the food looks like and what you want to communicate about it. A top-down 90-degree angle works for flat compositions — grain bowls, pizza, charcuterie boards, flatbread, dessert spreads — where the food has strong top-detail and the composition itself is the story. A 45-degree angle is the most versatile position for most plated restaurant meals, showing depth, height, and dish character simultaneously. Eye-level is the choice for tall subjects: burgers, layer cakes, stacked sandwiches, and parfaits where the internal layers and height are the selling point. A three-quarter angle, sitting between 45 degrees and top-down, works well for bowls and soups where both top detail and dish height matter.
For delivery platform images, the 45-degree and three-quarter angles cover the majority of dishes. For social media, varying your angle across a feed creates visual interest without requiring a new brief for every post. Getting the angle right is something you can resolve before food appears on set — but the shoot space itself needs to be configured first.
Setting Up Your Shoot Space
The setup you walk into determines the ceiling on your results. A poorly configured space creates problems that good lighting and composition cannot solve.
Choosing the Right Location
A window light setup is ideal for lifestyle food content and social media shoots — free, accessible, and producing a natural-looking result. A controlled studio setup, using artificial lighting and eliminating dependence on time of day or weather, is required for commercial menu shoots, delivery platform images, and any project where consistency across a large number of dishes is critical. On-location shooting at a restaurant gives you the atmosphere and physical props of the space, but at the cost of the control a studio provides.
Step-by-Step Shoot Configuration
The sequence matters. Start by choosing and positioning your background surface — this determines where everything else goes. Set up your primary light source at 45 degrees to the side. Position a reflector or secondary fill on the opposite side to manage shadow density. Mount your camera on a tripod at the intended angle and lock it before food is introduced. Place a stand-in prop or plate in the shooting position and confirm framing, angle, and focus distance with test shots. Adjust light position, diffusion, and fill ratio based on what you see. Once confirmed, begin the actual shoot — and do not change the configuration mid-session if you need consistent results across multiple dishes.
The background surface is part of that configuration, and it deserves the same deliberate thought as the lighting.
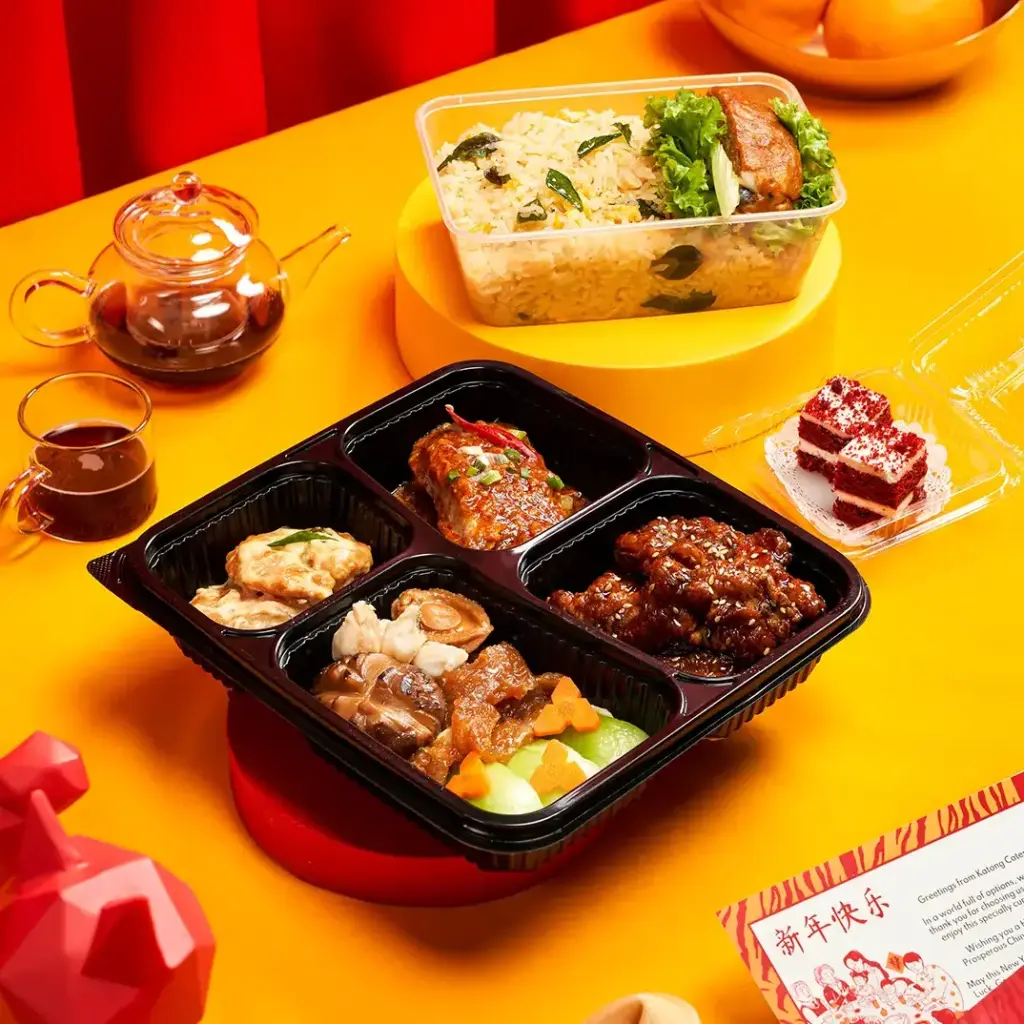
Backgrounds and Surfaces
The background is the second most impactful element of food photography setup after lighting. A background that dominates the food or clashes with its colour palette undermines the entire image.
Surface Types
White seamless paper is the most versatile option and is required for delivery platform listing images. Roll it on a background stand and allow it to curve into the shooting surface below. Slate and stone tile surfaces have a cool-grey tone that works for Asian cuisine, seafood, charcuterie, and artisan food. Wooden boards in a range of tones — light blonde, mid-brown, dark walnut — cover warm-toned dishes including coffee, pastries, bread, and most Asian food categories. Linen and fabric work as layering elements under hard surfaces; stick to neutral tones and avoid patterns. Marble and marble-effect surfaces suit beverage photography, desserts, and premium F&B brands — genuine marble is expensive, but high-quality printed PVC sheets are a practical alternative.
Choosing the Right Colour
White and off-white work with almost every food type and are the required choice for delivery platform images. Light grey suits premium food brand aesthetics. Dark backgrounds — slate, dark wood, deep linen — are dramatic and effective for cocktails, chocolate, coffee, and red meat, but require more lighting and are not appropriate for delivery platform main images. Warm earthy tones complement warm-toned dishes without the full drama of a dark background. The principle is simple: the background should make the food’s colour do the visual work, not compete with it.
Props operate on the same principle — they should support the food, not compete with it.
Food Photography Props
Props add context and visual interest, but they carry a real risk: every element in the frame competes with the food for attention. The discipline is knowing what to remove, not what to add.
The Core Prop Kit
A practical starting collection covers the essentials without redundancy. White plates and bowls in multiple sizes — round, shallow, deep — are the neutral canvas for most dishes. Matte-finish cutlery reduces reflections compared to polished metal. Neutral linen napkins in cream, grey, and natural tones, folded or casually arranged, add texture without colour. Small wooden boards and slate tiles function as supporting surfaces. Glass vessels — small bottles, ramekins, carafes — handle sauces and condiments cleanly.
Props by Food Category
Coffee and hot beverages work with small ceramic mugs, loosely scattered coffee beans, a small milk jug, and a stirring spoon. Asian cuisine benefits from chopsticks, bamboo or rattan mats, and ceramic bowls with hand-painted designs. Baked goods and pastries suit white plates, parchment paper, and a light dusting of flour or icing sugar. For packaged food and FMCG, the product is the subject — supporting props should reinforce brand identity without distracting, limited to on-brand colour palettes and clean surfaces. Cocktails and spirits work with cut crystal or handblown glass, a single large ice cube, and a citrus twist or bar tool nearby.
Three props in a composition work better than two or four. Odd-numbered arrangements look more natural and less deliberately symmetrical. Any prop that draws more attention than the food should be removed entirely. Remove any branded items that are not intentional, any props with strong patterns, and any props with intense colours that compete with the dish. Keep the visual hierarchy clear: food first, everything else second.
Even with the best lighting, setup, and props, the food itself needs preparation before it goes in front of the camera.
Food Styling Basics
Food that looks good in person does not always translate directly to the camera. Professional food styling accounts for how light renders texture and colour on screen versus how the eye perceives it at the table.
Work fast on hot dishes. Steam wilts garnishes and sauces spread within two minutes of plating. Have everything positioned and the camera ready before the food arrives. Replace fresh garnishes between shots — herbs that have been sitting on a dish for 20 minutes look tired. Pour sauces and glazes immediately before shooting, not before positioning the dish; a sauce that has spread or absorbed looks less controlled. A very light mist of water on herbs, salad leaves, and fresh produce makes them look vivid — use it sparingly and never on surfaces where visible water droplets would look accidental.
These principles apply at any scale. What changes between a social media shoot and a commercial studio production is how they are executed.
Practical Ideas by Dish Type
Restaurant and Café
Steam shots capture the moment: shoot 10–15 seconds after plating a hot dish, using a dark background to make the steam visible. This works particularly well for ramen, soups, and hot beverages. Action shots — coffee being poured, sauce drizzled, a dumpling picked up with chopsticks — require a fast shutter speed of 1/500s or faster and adequate lighting to freeze the motion cleanly. Overhead flatlay spreads of a full table setting — multiple dishes, drinks, utensils, a folded napkin — work for social media and editorial use. Close-up texture shots of the crust on bread, a glaze on char siu, or marbling on wagyu function as supporting images in menu and social contexts.
Packaged Food and FMCG
For food product photography of packaged goods, three images cover the core set: a white-background hero shot with the label clearly visible, an ingredient spread showing the key components without requiring text, and an in-context lifestyle shot placing the product in a usage scene — a breakfast table, a recipe preparation moment, or a usage scenario relevant to the target audience. This combination addresses e-commerce listings, campaign creative, and editorial use from a single session.
Beverages
Refrigerate glass vessels before shooting — condensation appears quickly and should be captured within 30 to 60 seconds of removing them from the fridge. Overhead colour shots work for colourful cocktails and smoothies, showing colour and texture simultaneously from directly above. Backlit liquid shots, with the light source positioned behind the glass, reveal the colour and translucency of the liquid — particularly effective for craft cocktails and coloured beverages.
These techniques represent what is achievable in a controlled environment. Whether that environment is a carefully prepared window-light setup or a professional studio determines the ceiling on results.
Why Singapore Businesses Hire a Professional Food Photography Studio
The most direct business case for professional food photography is delivery platform performance. On GrabFood, Foodpanda, and Deliveroo, your listing image is competing with every other option a customer can see in one scroll. Poor-quality images — uneven lighting, inconsistent backgrounds, dishes that look flat or unappetising — cost orders before a customer ever reads a description or checks the price. Brands that invest in consistent, high-quality listing images reliably see improved click-through rates, and in a market where platform visibility is partly driven by order volume, that performance compounds over time.
The second argument is consistency at scale. A growing menu — or a seasonal refresh — requires images that sit cohesively in a grid, across a website, and in campaign materials simultaneously. A DIY or ad hoc approach can produce individual strong images, but it rarely holds consistency across 20 or 30 dishes shot across different days, locations, or lighting conditions. A studio session eliminates that variability by design: same lighting, same surface, same colour temperature across every dish in a single shoot day. For F&B brands managing multiple SKUs or restaurants updating their full menu, that consistency is worth considerably more than the session itself.
There is also a positioning argument. How food is photographed signals the standard of the food itself. Brands that position as premium — whether that is a high-end restaurant, an artisan F&B label, or an FMCG product targeting supermarket shelf space — need imagery that earns that positioning at first glance. In categories where the product looks similar across competitors, photography is often the differentiating signal. This is particularly relevant in Singapore’s competitive F&B market, where customers have high expectations and genuinely low switching costs between options.
A studio brings the infrastructure that makes this possible at scale: controlled lighting rigs, a full prop and surface library, and a team that understands both the technical side and what platforms are actually looking for. Our professional food photography in Singapore service operates from a 3,200 sq ft facility with a dedicated kitchen setup and a prop collection built across years of F&B production — serving clients including Häagen-Dazs, FairPrice, and Famous Amos, brands for whom consistent, high-volume food imagery is a production requirement, not a nice-to-have.
The decision point is usually straightforward once you identify the inflection point. When a single strong image can materially affect revenue — through a delivery platform listing, a campaign visual, or a hero image on a product page — the business case is clear. When your current images are the weakest element in your marketing rather than the strongest, that is the signal. And when you need consistent output across 20 or more dishes or SKUs from a single session, a DIY setup physically cannot meet that requirement.
Frequently Asked Questions About Food Photography Tips
What camera settings should I use for food photography?
For a controlled shoot and food photography pricing, start with aperture f/5.6 to f/8 — enough depth of field to keep the full dish sharp — shutter speed 1/125s or faster, ISO as low as possible (100–200), and white balance set manually to match your light source. Shoot in RAW format for maximum post-processing flexibility. On a tripod, you can use slower shutter speeds in natural light setups without losing sharpness.
What is the best background for food photography?
Neutral backgrounds — white, off-white, light grey, and natural wood — work for the widest range of food types. White is required for delivery platform main images. For lifestyle and social media content, textured neutral surfaces such as slate, linen, and marble-effect add visual interest without competing with the food. Dark backgrounds work for premium categories such as cocktails and chocolate, but require more lighting and are not appropriate for platform listing images.
How do I make food look glossy and fresh in photos?
A very light spray of water mist on herbs and produce makes them look fresh and vivid. A thin brush of oil on meat and cooked vegetables gives them a natural sheen. Replacing garnishes between shots prevents wilted elements from appearing in final images. Moving quickly from plating to shooting is the most effective technique — fresh food always photographs better than food that has been sitting for more than two minutes.
What food photography props should I buy first?
Start with white plates in two or three sizes, matte-finish cutlery, neutral linen napkins, and a slate or wooden board. These cover the majority of food types without competing with the subject. Avoid props with strong patterns or intense colours until you have a consistent neutral base to work from. Build a small collection of glass vessels — ramekins, small bottles, a carafe — for sauces and condiments.
What lighting is best for food photography?
For commercial food photography, strobe lighting with large softboxes is the professional standard — it provides precise colour temperature control and consistent output across every shot. Continuous LED panels are a strong alternative for smaller setups, particularly those that also produce video content. Natural window light works for lifestyle and social media content where a slightly variable look is acceptable. Whatever the source, side lighting is essential — overhead lighting flattens food and should always be avoided for commercial work.
How do I set up a budget food photography space at home?
Position the food near a large north-facing window for diffused, consistent natural light. Use a large sheet of white foam board on the opposite side to bounce light back into the shadow side and fill the contrast. A neutral white surface or a seamless paper roll is your background. Mount the camera on a tripod — this locks your angle and lets you adjust light and food without re-framing between shots. This setup is free, accessible, and produces natural-looking results suitable for social media and basic menu photography.
Ready to Elevate Your Food Photography?
Food photography is a technical discipline and a visual craft in equal measure. Getting the lighting, setup, and styling right produces images that work harder across every platform a brand uses. At GradePixel, our team of professional food photographers operates from a fully equipped 3,200 sq ft studio, serving restaurants, F&B brands, and FMCG clients across Singapore. Explore our food photography services →
A title
Image Box text
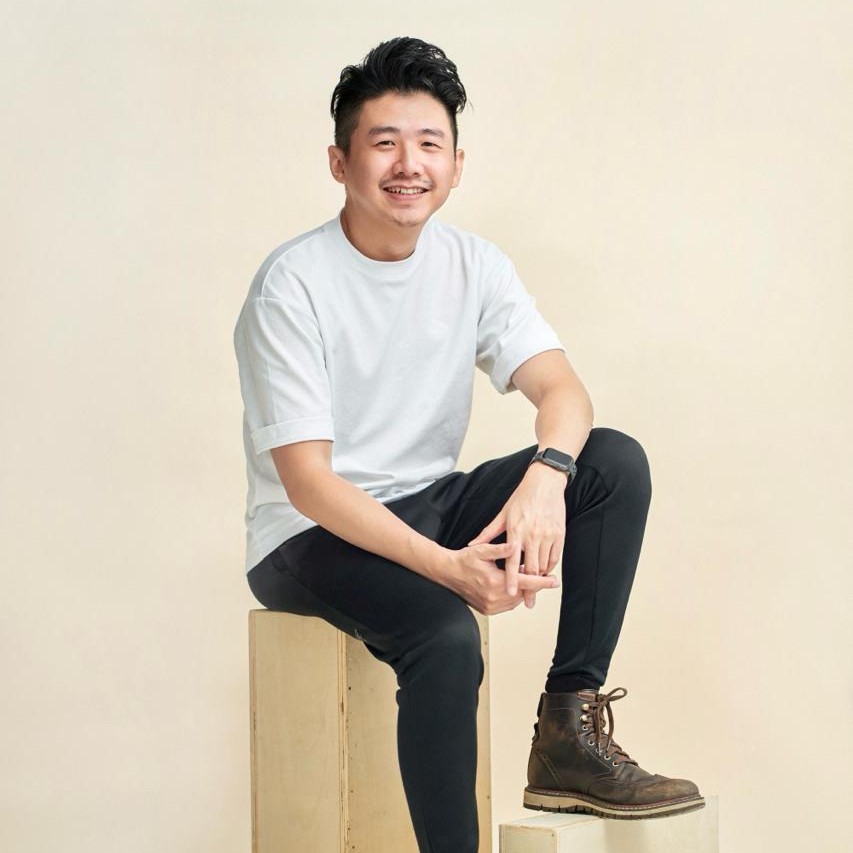
Sylvester Lim - Founder of GradePixel
I’m Sylvester, founder of GradePixel, a commercial photography and video production studio in Singapore with over 10 years of experience. I’ve worked with brands across product, food, fashion, and corporate sectors, helping businesses create clean, effective visuals that drive real results. My focus is always on practical, high-quality production that works for marketing.