
Mastering Hard vs. Soft Lighting: Which is Better for Your Premium Product Launch in Singapore
The choice isn't about preference. It's about what your product needs to look like.
May 14, 2026 • gradepixel
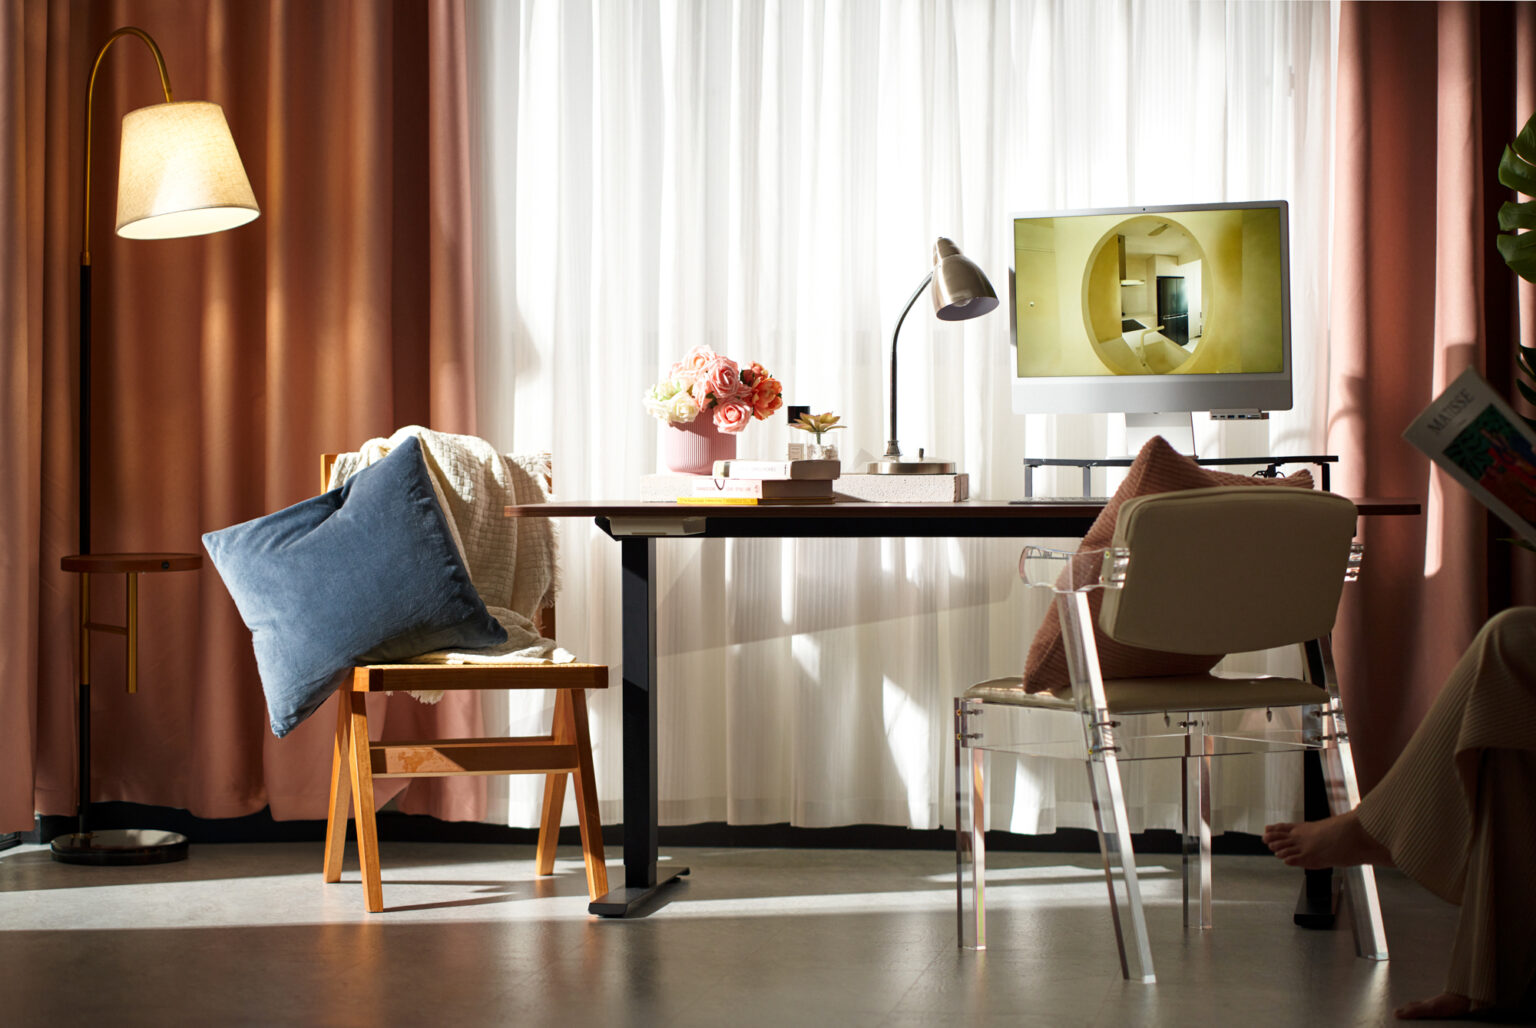
You’re launching a luxury watch line. Your cosmetics brand is hitting shelves. A premium furniture piece needs photography for your e-commerce site.
Each one demands different lighting. Get it right, and your product looks premium, desirable, worth the price. Get it wrong, and even a high-quality product looks flat, cheap, or unflattering.
The difference often comes down to one decision: hard light or soft light.
After shooting hundreds of product launches in Singapore, we’ve learned exactly when each approach wins. Hard light for watches and jewelry. Soft light for cosmetics and skincare. But the real skill is understanding why—because once you do, you can adapt the principle to any product.
This is the behind-the-scenes breakdown of how we light product shoots at GradePixel, and how to know which approach your product actually needs.
What’s the Difference? (And Why It Matters)
Hard light is directional light from a small source (like direct sun or a bare bulb). It creates strong shadows, sharp highlights, and high contrast. It’s punchy and dramatic.
Soft light comes from a large light source (diffused or bounced). It wraps around the product, minimizes shadows, and creates even, flattering illumination. It’s forgiving and elegant.
The choice isn’t about preference. It’s about what your product needs to look like.
Hard Light: Watches, Jewelry, and Reflective Products
Luxury watches and high-end jewelry are all about detail and sparkle. Hard light is made for this.
Why hard light works for watches:
- Crisp highlights show off the polished case and crystal
- Strong shadows create dimension and make metal surfaces look precious
- Reflections pop in a way that soft light flattens out
- Details show clearly — engravings, textures, mechanisms are visible
Think about how sunlight hits a luxury watch. The contrast makes it look expensive. Hard light replicates that feeling in a controlled studio setting.
The setup:
Key Light (Hard Light Source)
↓
[Small Softbox or
Reflector Dish]
|
|
┌─────┴─────┐
| |
Watch Fill Card
[High Angle] [Subtle Fill]
In our studio, we typically use a 45-degree angle from above and to the side. The fill card (a white reflector) sits opposite, catching about 10-20% of the light to prevent the shadow side from going completely black. The key is keeping that fill subtle—you want contrast, not flatness.
Real-world example: A luxury watch photographed with hard light shows the dial clearly, catches the brushed metal finish, and makes the crystal gleam. Every detail sells the product.
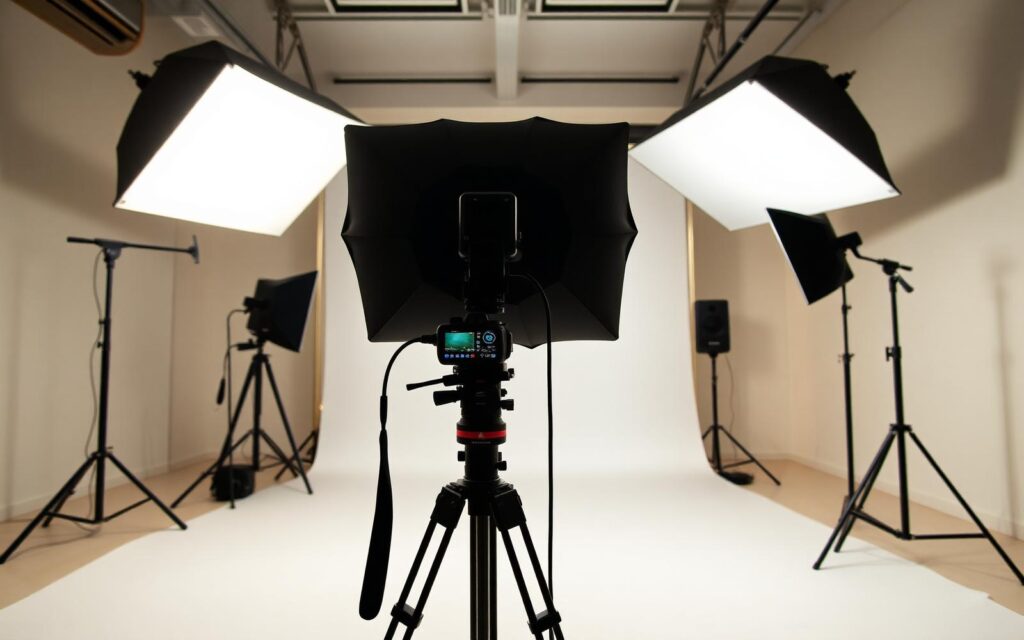
Soft Light: Cosmetics, Skincare, and Delicate Products
Cosmetics and skincare products are about flawless surfaces and approachability. Soft light is the answer.
Why soft light works for cosmetics:
- No harsh shadows — a lipstick or foundation bottle looks smooth and inviting
- Even illumination means consistent color across the entire product
- Soft reflections look premium without being dramatic
- Reduces texture flaws — any imperfections in packaging are minimized
Cosmetics photography isn’t about drama. It’s about making the product look clean, touchable, and perfect. Soft light does that naturally.
The setup:
Large Softbox (Diffused Light)
↓
[Softbox 2-3ft wide,
positioned in front
and slightly above]
|
|
┌─────┴─────┐
| |
Cosmetic Reflector
Product (Gentle Bounce)
[Straight On]
In our studio, we use a large softbox (3-4 feet wide) positioned in front of the product at a 45-degree angle, sometimes slightly above. A white bounce card on the opposite side catches light and fills in any shadow detail. The goal is even, flattering light across the entire bottle or compact.
Real-world example: A foundation bottle photographed with soft light looks clean, the label is easy to read, and the glass appears smooth and luxurious. The product invites purchase.
When to Use Each: The Decision Framework
Use hard light if your product has:
- Reflective surfaces (metal, glass, polished finishes)
- Fine details you want to highlight (engravings, texture, precision)
- Sparkle or shine that should be obvious
- Example products: watches, jewelry, eyeglasses, luxury pens, polished ceramics
Use soft light if your product has:
- Delicate or matte finishes
- Packaging that benefits from even illumination
- Textures that look better without harsh shadows
- Example products: cosmetics, skincare, fragrance, candles, paper goods, fabric
The exception: Some products benefit from both. For example, a luxury perfume bottle with detailed metalwork might get hard light on the stopper and soft light on the body. This is where experience matters—you can combine approaches.
Common Mistakes We See
With hard light:
- Too much contrast. The shadow side goes completely black, losing detail. Add a subtle fill card.
- Light too close. This creates harsh hotspots. Back it off and adjust the angle.
- No reflector fill. Every reflection looks blown out or harsh. Use fill cards to control the shadows.
With soft light:
- Light too soft. The product looks flat and dull. Hard light has drama; soft light needs just enough direction to show form.
- No dimension. Pure flat light from straight-on makes everything look 2D. Angle the light slightly (45 degrees) for shape.
- Reflections missing. Soft light can still catch a gentle reflection off glass or metal if positioned right. Don’t avoid it—use it subtly.
Setting Up in Your Own Space
If you’re planning a product shoot, here’s what to consider:
For watches and jewelry (hard light):
- Use a small light source (5-inch reflector dish or small softbox with a grid)
- Position above and to the side (45–60 degrees)
- Use a fill card opposite to control shadows
- Expect 15–30 minutes of setup and adjustment
For cosmetics (soft light):
- Use a large softbox (2–4 feet wide)
- Position in front and slightly above
- Add a gentle bounce card for fill
- Set up takes 10–15 minutes
General rule: Hard light is more finicky and requires more fine-tuning. Soft light is more forgiving but still needs the right angle and intensity.
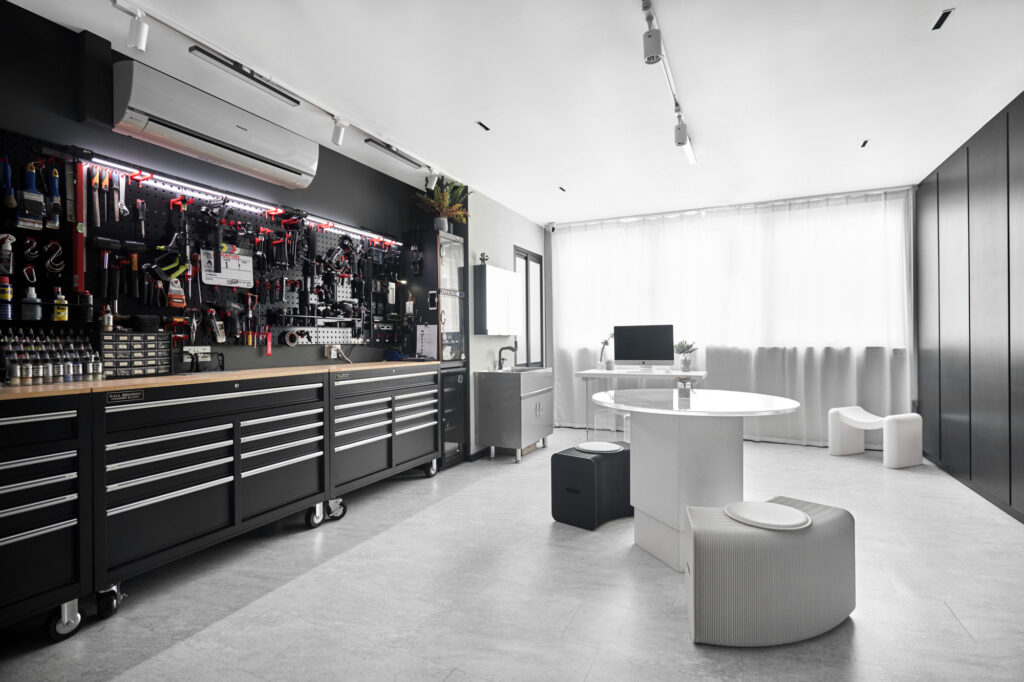
In our studio, we maintain dedicated setups for each category because the difference in setup time is worth it. A watch shot takes longer to dial in, but the result is noticeably more premium. A cosmetics batch moves faster because soft light is more predictable.
Why This Matters for Your Product Launch
Your product launch is an investment. The photography represents the product to customers before they ever touch it. Lighting choice is one of the biggest factors in how professional and premium your product looks.
Wrong lighting can make a $200 watch look like a $20 knockoff. Right lighting makes a $20 candle look luxury.
If you’re planning a product shoot—whether it’s watches, cosmetics, or something in between—the lighting strategy should be part of the conversation before the shoot day. Know your product, understand what lighting will make it look its best, and plan accordingly.
That’s what separates a good product shot from one that actually sells.
Ready to Plan Your Product Launch?
If you’re launching a premium product line and want photography that does it justice, lighting matters. Get in touch and let’s talk about the right approach for your specific product.
We’ve lit hundreds of product launches in Singapore. We know what makes watches sparkle, what makes cosmetics glow, and how to make your product look exactly like what it is: worth buying.

A title
Image Box text
Sylvester Lim - Founder of GradePixel
I’m Sylvester, founder of GradePixel, a commercial photography and video production studio in Singapore with over 10 years of experience. I’ve worked with brands across product, food, fashion, and corporate sectors, helping businesses create clean, effective visuals that drive real results. My focus is always on practical, high-quality production that works for marketing.