
Food Photography Setup, Lighting & Props: A Practical Guide
The difference between a food photo that looks good and one that looks professional is almost always the setup — not the camera, not the post-processing. The right lighting eliminates unflattering shadows. The right background makes the food’s colour stand out. The right props add context without competing for attention. This guide covers the full [...]
June 8, 2026 • gradepixel
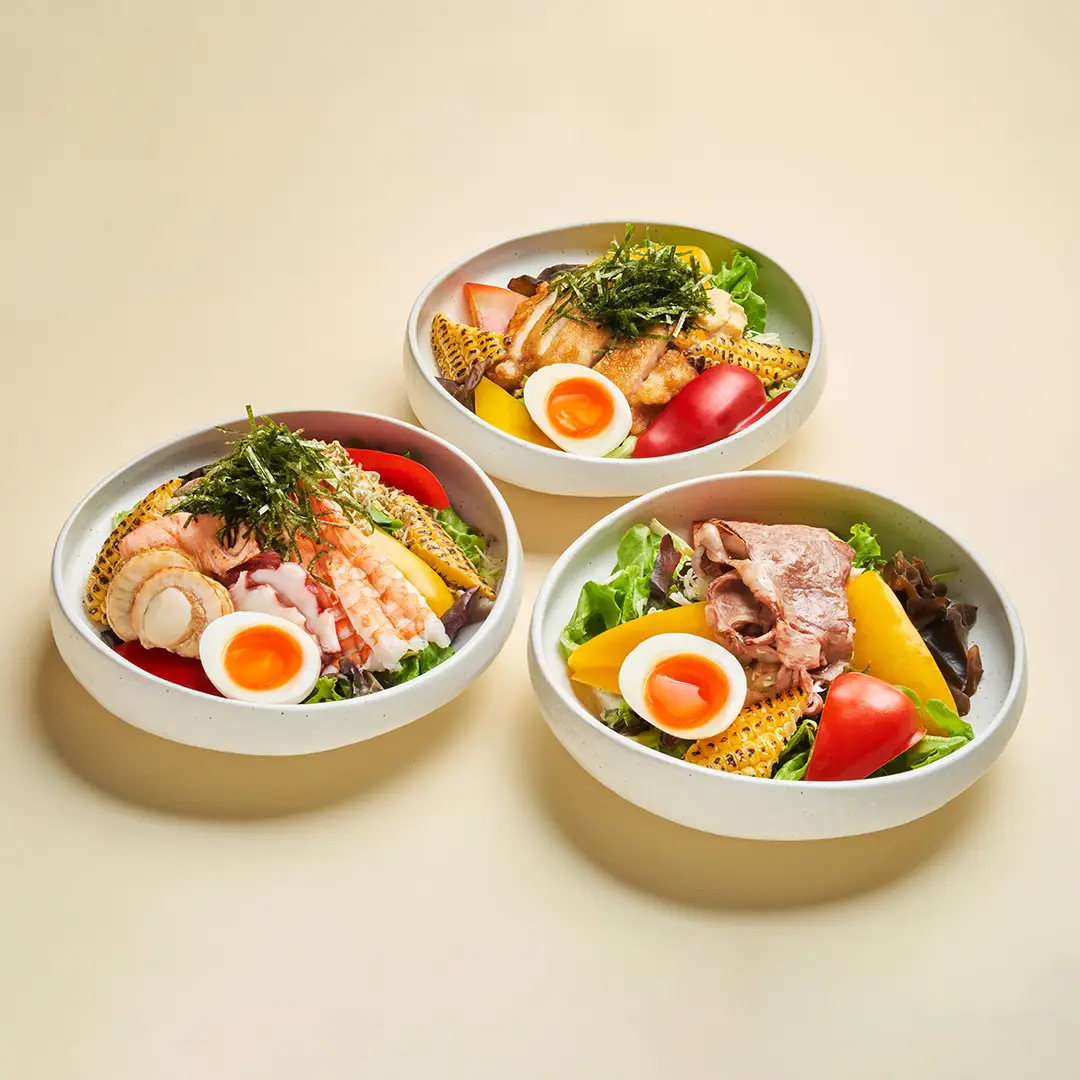
The difference between a food photo that looks good and one that looks professional is almost always the setup — not the camera, not the post-processing. The right lighting eliminates unflattering shadows. The right background makes the food’s colour stand out. The right props add context without competing for attention. This guide covers the full setup: from a simple home or studio arrangement to a professional configuration for commercial work.
Setting Up Your Shoot Space
Before any lights are positioned or props are placed, the shoot space itself needs to be configured correctly.
Choosing Your Location
Window light setup: Ideal for lifestyle-style food content and social media shoots. A large north-facing window provides diffused, consistent light throughout the day. Position the food 60–90cm from the glass to take advantage of the light without being in a position where direct sun creates harsh shadows. This setup is free, accessible, and produces natural-looking results.
Controlled studio setup: Required for commercial menu shoots, delivery platform images, and any project where consistency across a large number of dishes is critical. A controlled setup uses artificial lighting and eliminates dependence on time of day or weather.
On-location at a restaurant: The food is prepared and shot in the restaurant environment. Less controllable than a studio, but useful when the restaurant’s interior, props, or atmosphere are part of the brief.
Step-by-Step Shoot Configuration
- Choose your background surface and position it first — this determines everything else
- Set up your primary light source (window or artificial) at 45 degrees to the side of the shooting surface
- Position a reflector or secondary fill light on the opposite side to reduce shadow density
- Mount your camera on a tripod at the intended shooting angle — lock it in position before food is placed
- Place a stand-in prop or plate in the shooting position and check framing, angle, and focus distance
- Adjust light position, diffusion, and fill ratio based on test shots
- Once the setup is confirmed, begin the actual shoot — do not change the setup mid-session if you need consistency across multiple dishes
Food Photography Lighting
Lighting is the most technically impactful element of a food photography setup. The same dish lit differently can look appetising or flat.
Natural Light
When it works: Lifestyle food content, social media imagery, editorial food photography. Natural light produces a soft, organic quality that artificial light takes effort to replicate.
Setup: Position the food near a large window with the light arriving from the side, not from directly behind or above. Diffuse harsh direct sunlight by taping a sheet of white tracing paper or a sheer fabric over the window.
The reflector: Place a large white foam board, cardboard, or collapsible reflector on the opposite side of the dish from the window. This bounces light back into the shadow side and reduces the contrast to a manageable level.
Limitation: Natural light changes. Colour temperature shifts throughout the day and between cloudy and clear conditions. For shoots that require consistency across many dishes shot over several hours, natural light creates variation that is difficult to correct in post-production.
Continuous LED Lighting
LED panels are the most accessible artificial lighting option and work well for food photography at any level.
Specifications to look for: Colour temperature of 5,500K (daylight-matched), CRI of 95 or above. CRI measures colour rendering accuracy — a panel with CRI below 90 produces colours that look slightly off, particularly for food where accurate colour is critical.
Basic setup: One large LED panel as the key light, positioned at 45 degrees to the side and slightly above the food. A second smaller panel or a reflector on the opposite side as fill. A large softbox or diffusion panel in front of the key light softens the light and reduces hard-edged shadows.
Advantage for food: What you see in the viewfinder or on the camera screen reflects the actual exposure — no need to estimate strobe output or work with modelling lights.
Strobe Lighting with Softbox
The professional studio standard for commercial food photography.
Key light setup: A single strobe head with a large softbox (90x90cm minimum) positioned at 45 degrees to the side of the food, slightly above. Large softboxes produce soft, wrapping light that reveals texture and reduces harsh shadows.
Strip softbox from behind: Adding a vertical strip softbox behind and slightly to one side creates rim lighting that separates the dish from the background and adds depth. Particularly effective for glass, liquid, and reflective surfaces.
Fill: Use a large white reflector rather than a second strobe on the fill side for most food setups. This produces a natural light-to-shadow ratio without adding a second competing light source.
Common Lighting Mistakes
Top-down overhead lighting: Lighting the food from directly above flattens texture and makes food look like it was photographed under a ceiling fixture. Always side-light food for commercial work.
Mixed colour temperatures: Daylight coming through a window combined with warm indoor tungsten lighting creates a colour cast that is difficult to remove in post-production. Use one light source type and block the other.
Under-lighting dark food: Dark dishes on dark backgrounds need more light, not less. Insufficient light in this scenario produces muddy, flat images. Increase light power or add a rim light to separate the dish from the background.
Food Photography Backgrounds and Backdrops
The background is the second most important element of food photography setup after lighting. A background that clashes with or dominates the food undermines the entire image.
Surface Types
White seamless paper: The most versatile option for any food photography. Required for delivery platform main images and ecommerce product shots. Clean, neutral, and easy to replace when marked. Roll it on a background stand and allow it to curve to the shooting surface below.
Slate and stone tile: Gives a natural, textured surface with a cool-grey tone. Works well for Asian cuisine, seafood, charcuterie, cheese, and artisan food. Genuine stone is heavy but produces better results than printed alternatives.
Wooden boards and surfaces: Warm-toned and textured. Works for coffee, pastries, bread, Asian dishes, and anything where a natural or rustic feel is appropriate. Keep a small collection in different tones — light blonde, mid-brown, and dark walnut cover most situations.
Linen and fabric: Soft texture, absorbs light slightly, works well as a layering element under hard surfaces. Avoid patterns and strong colours. Stick to neutral tones — cream, grey, oatmeal, olive drab.
Marble and marble-effect surfaces: Premium, modern, works for beverage photography, desserts, and beauty F&B brands. Genuine marble is expensive; high-quality printed PVC sheets are a practical alternative.
Background Colours
White and off-white: The safest choice for almost every food type. Required for delivery platforms. Makes colour in the food do the visual work without competition.
Light grey: Modern and neutral. Works for clean, premium food brand aesthetics and tech-forward F&B brands.
Dark backgrounds: Dramatic and effective when used correctly. Works for cocktails, chocolate, coffee, red meat, and premium desserts. Requires more lighting to avoid a heavy, flat result. Never use a dark background for delivery platform images.
Warm earthy tones: Terracotta, dark wood, warm stone. Complements warm-toned dishes — curries, roasts, pastries — without the drama of a pure dark background.
Where to Source Backgrounds in Singapore
Photography equipment retailers carry seamless paper rolls in multiple widths and colours. Custom-printed PVC backdrops are available from large-format print shops and are durable enough for repeated studio use. DIY alternatives — marble contact paper on foam board, painted MDF panels, authentic stone tiles — are accessible from hardware stores and home improvement retailers.
Food Photography Props
Props support the food. They should contribute context without competing for attention.
The Essential Food Photography Kit
Every food photography setup benefits from a small core collection of neutral props:
- White plates and bowls in multiple sizes — round, shallow, deep
- Matte-finish cutlery — spoons, forks, knives. Matte finishes reduce reflections compared to polished metal
- Neutral linen napkins — cream, grey, natural. Folded, rolled, or casually arranged
- Small wooden boards and slate tiles for supporting surfaces
- Glass vessels — small bottles, carafes, ramekins — for sauces and condiments
- Ceramic mugs and cups for beverage shots
Props by Food Category
Coffee and hot beverages: Small ceramic mugs, coffee beans scattered loosely, a small milk jug, a stirring spoon.
Asian cuisine: Chopsticks, bamboo or rattan mats, ceramic bowls with hand-painted designs, wooden chopstick rests.
Baked goods and pastries: White plates, parchment paper, a dusting of flour or icing sugar, a wire cooling rack.
Packaged food and FMCG: Minimal props. The product is the subject — supporting props should reinforce brand identity without distracting. Stick to on-brand colour palettes and clean surfaces.
Cocktails and spirits: Cut crystal or handblown glass, a single large ice cube, a citrus twist or garnish, a bar tool nearby.
The Rule of Odd Numbers
Three props in a composition tend to work better than two or four. Odd-numbered arrangements look more natural and less deliberately symmetrical. When in doubt, use one hero prop and two supporting elements.
What to Remove
Any prop that draws more attention than the food should be removed. Remove any branded items unless they are intentional (a client’s branded bottle, for example). Remove props with strong patterns or intense colours that compete with the dish. Keep the visual hierarchy clear: food first, everything else second.
From DIY to Professional Setup
A basic window-light setup with a foam board reflector and a neutral surface produces acceptable food photography for social media. A professional studio configuration — controlled artificial lighting, a curated surface collection, and an organised prop kit — produces consistent, commercial-grade results at scale.
The shift from DIY to professional is worth making when image quality has a measurable impact on revenue: delivery platform listing performance, menu conversion, paid advertising creative.
→ See how GradePixel’s studio is set up for professional food shoots at our food photography studio in Singapore.
→ For practical in-shoot tips on making food look its best, read our guide on food photography tips and ideas.
Frequently Asked Questions
What lighting is best for food photography?
For commercial food photography, strobe lighting with large softboxes is the professional standard — it provides maximum power, precise colour temperature control, and consistent output across every shot. Continuous LED panels are a strong alternative for smaller studios and setups that also produce video content. Natural window light works well for lifestyle and social media food content where a slightly variable look is acceptable.
Where can I buy food photography props in Singapore?
Photography equipment retailers carry specialised backgrounds and surfaces. Home improvement and hardware stores carry tiles, wood boards, and materials for DIY surfaces. Kitchenware stores are good sources for neutral ceramics, glass vessels, and serving utensils. For linen and fabric props, fabric stores carry neutral textures in a range of tones.
What background colour works best for food photography?
White and off-white are the most versatile and are required for delivery platform listing images. For lifestyle and social media content, neutral textured surfaces — light stone, natural wood, soft linen — add visual interest without competing with the food. Dark backgrounds work for specific premium categories but require more lighting and are not appropriate for delivery platform images.
GradePixel is a food photography studio in Singapore with a 3,200 sq ft studio space equipped for commercial menu, campaign, and product shoots. Contact us to discuss your project.
A title
Image Box text
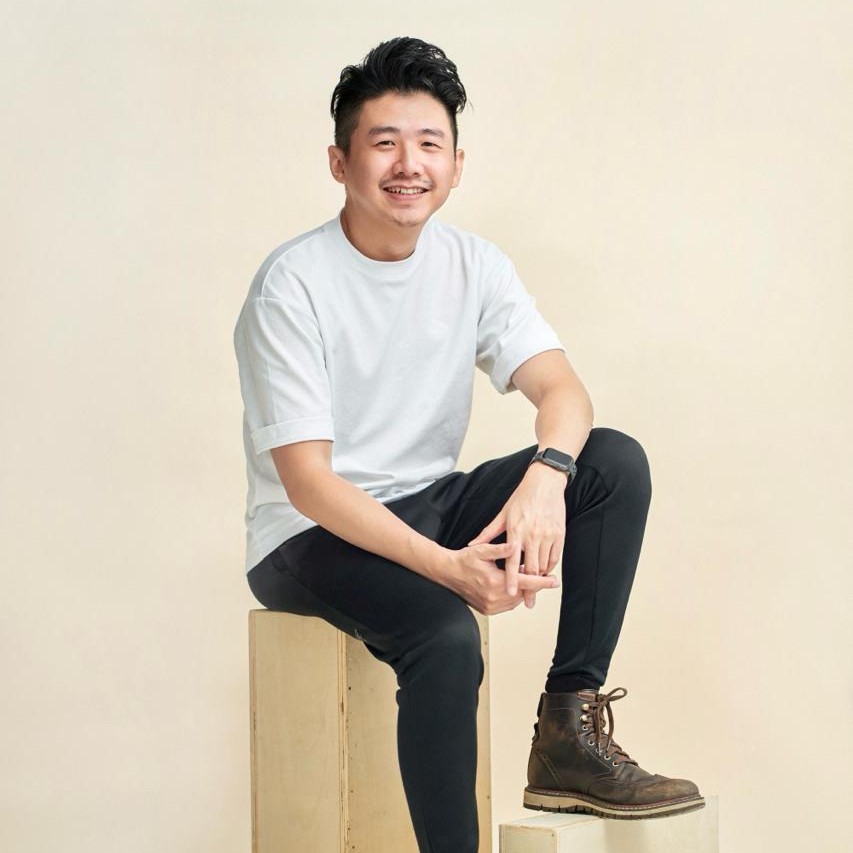
Sylvester Lim - Founder of GradePixel
I’m Sylvester, founder of GradePixel, a commercial photography and video production studio in Singapore with over 10 years of experience. I’ve worked with brands across product, food, fashion, and corporate sectors, helping businesses create clean, effective visuals that drive real results. My focus is always on practical, high-quality production that works for marketing.