
Fashion Photography Tips: Lighting, Direction, Composition & Styling
Practical fashion photography tips covering lighting, model direction, composition, and styling — for brands preparing for a shoot or photographers developing their skills
June 11, 2026 • gradepixel
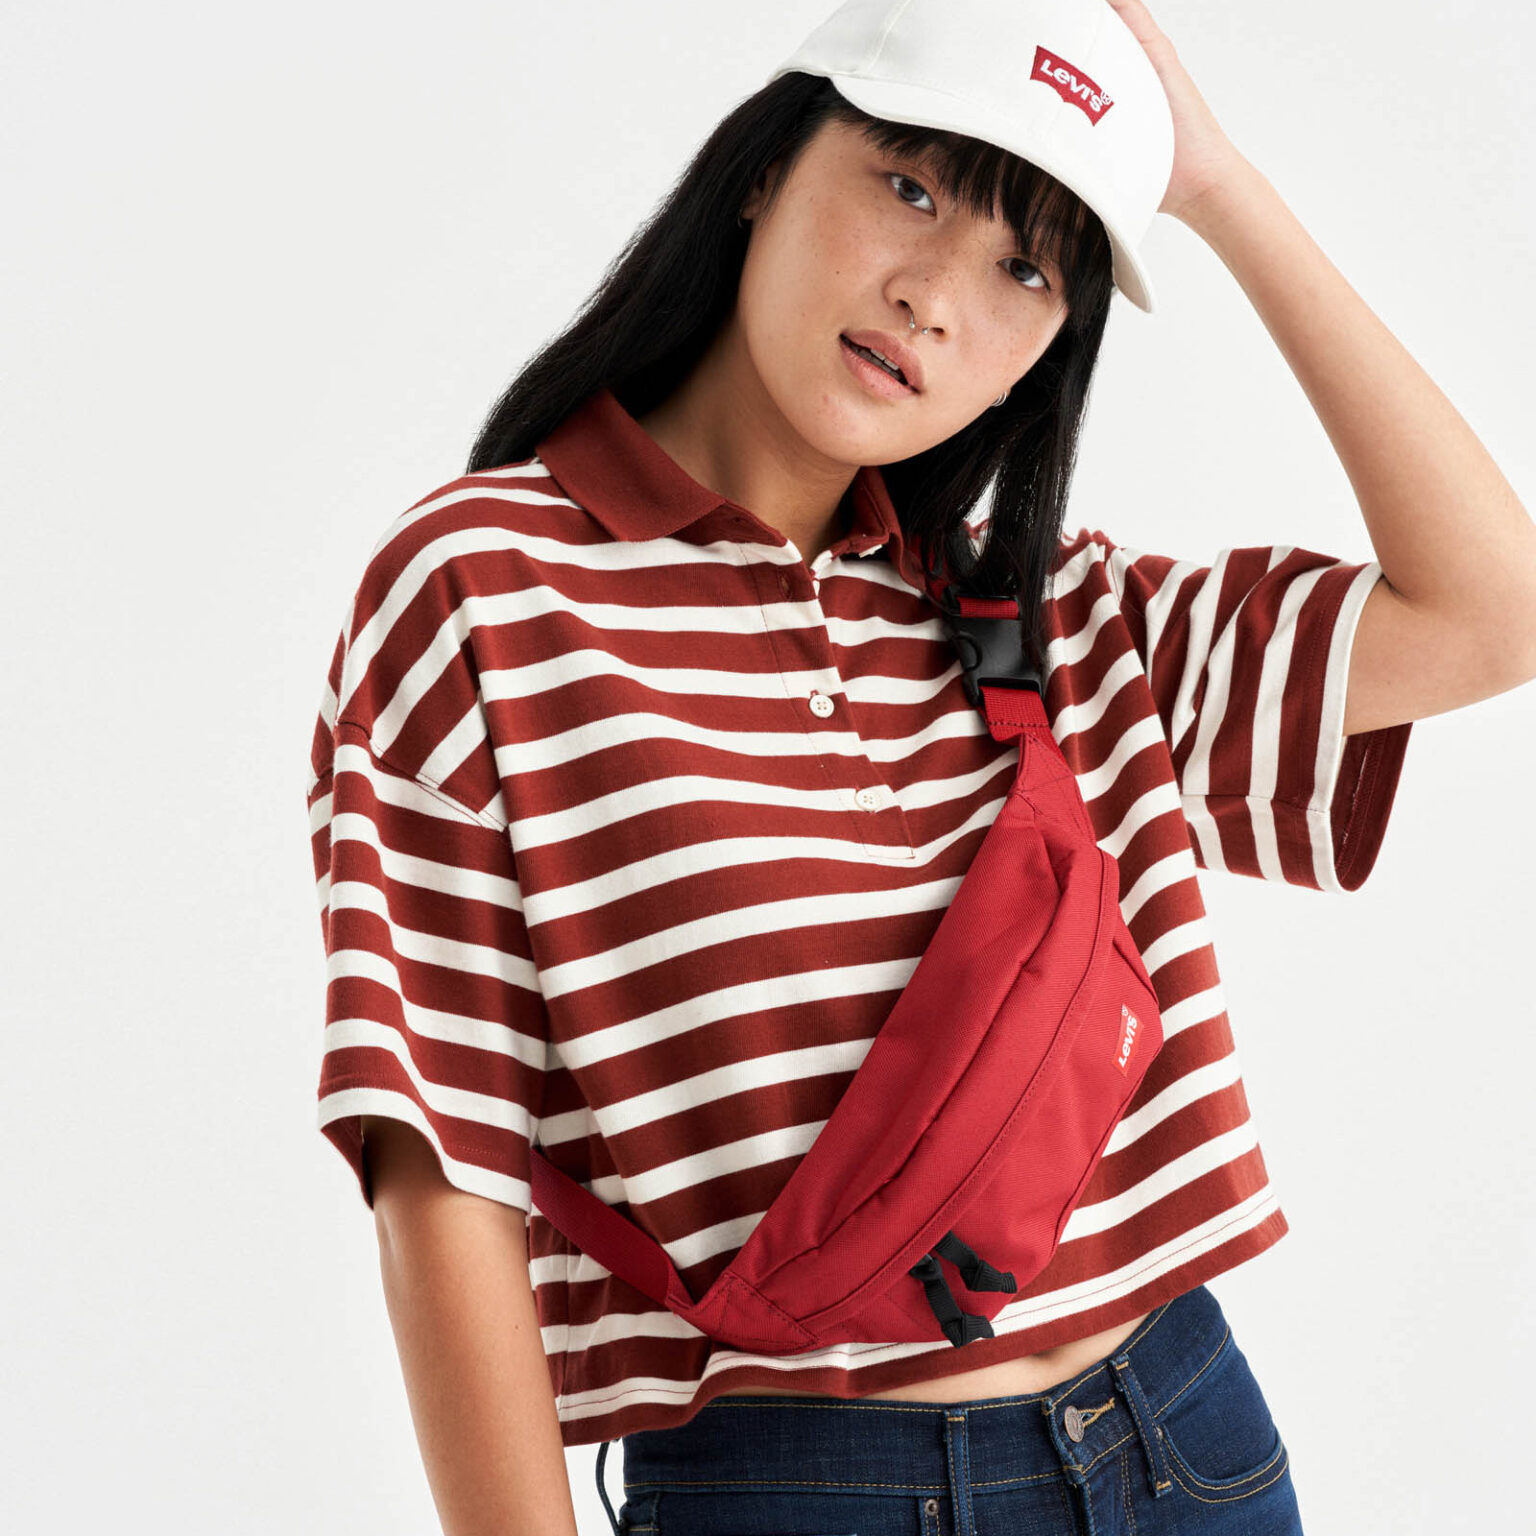
Strong fashion photography is not the result of an expensive camera or a good-looking model. It is the result of consistent, intentional decisions — about how to light a garment, how to direct a model, how to compose a frame, and how to deliver files that match what was briefed. Whether you are a brand preparing for a studio shoot, a marketing team reviewing a brief, or a photographer developing your commercial practice, these principles apply at every level.
Tip 1: Lighting Is the Foundation — Not an Afterthought
No other production decision affects the output of a fashion shoot as directly as lighting. The same garment, the same model, and the same studio can produce completely different results depending on how the light is set up.
Studio Lighting for Fashion
The standard studio configuration for fashion photography uses a key light, a fill, and a background or hair light. Getting these three elements right consistently is the basis of all professional fashion work.
Key light: A large softbox — 90x120cm or larger — positioned at roughly 45 degrees to the side and above the model. Large softboxes produce soft, wrapping light that flatters garments and reduces harsh shadows on textured fabrics. Position it higher than the model’s eye level so light falls slightly downward — this creates natural-looking shadow falloff and elongates the silhouette.
Fill light or reflector: A secondary light source or a large white reflector on the opposite side of the model from the key light. Its role is not to eliminate shadows but to reduce their density. Fashion images that are too flat (no shadow) look lifeless. Fashion images that are too contrasty look harsh. The fill controls the balance between the two.
Rim light or hair light: A third strobe behind the model, aimed at the hair or shoulder — this separates the model from the background and creates depth in the image. Without rim lighting, models shot on white backgrounds tend to merge visually with the background, losing the three-dimensional quality that makes fashion images feel substantial.
For white background catalogue shoots: The background needs to be lit separately from the model. Without dedicated background lighting, the white paper appears grey or uneven — which creates extra work in post-production and inconsistency across a large batch. Position two lights aimed at the background from each side, behind and below the model.
Natural Light for Fashion
Natural light works well for outdoor lookbook content and lifestyle fashion images where an authentic, environmental feel is part of the brief.
The most common mistake with natural light in fashion photography is shooting in direct midday sun — the light is too harsh and too overhead, creating unflattering shadows under the nose, chin, and brow. Overcast conditions and golden-hour light (one to two hours before sunset) produce soft, directional light that flatters both the garment and the model.
Position the model so the light hits from the front or side — not from directly behind. Backlit subjects in natural light require careful exposure management and often result in a hazy, low-contrast image that does not serve ecommerce or commercial purposes.
Colour Gels and Creative Lighting
For editorial and campaign fashion photography, a single colour gel over one strobe can shift the entire mood of an image. Split lighting — where one side of the frame is lit with a coloured gel and the other is white — creates a graphic, high-impact visual that is distinctive to editorial content.
This approach requires more retouching in post-production and is not appropriate for ecommerce catalogue work, where colour accuracy is the priority. But for campaign imagery, it is one of the most effective ways to create a visual language that separates one brand from another.
Tip 2: Model Direction Is the Most Underrated Skill in Fashion Photography
Most photographers spend more time thinking about their lighting setup than about how to direct a model. This is a mistake — especially on commercial shoots where the model’s posture and expression carry the brand tone as directly as the garment itself.
Brief the model on the brand context before the shoot. Ecommerce catalogue photography and editorial fashion photography require completely different energy. Ecommerce requires neutral, consistent postures that do not distract from the garment. Editorial requires emotional presence, movement, and a specific character. Without briefing the model on which context they are working in, you will get generic results in both.
Give specific physical direction, not abstract emotional prompts. “Look confident” produces nothing useful. “Chin forward slightly, drop your left shoulder by about three centimetres, and look just past the left edge of the lens” is actionable. The more specific the direction, the faster the model reaches the position you need.
Shoot through movement. The best fashion frames are often captured mid-motion. Ask the model to walk toward the camera, then stop on your cue. The frames captured during the transition from movement to stillness produce a natural quality that static, posed frames rarely achieve. For catalogue work, do the walking shots in addition to static poses — the selects often surprise.
For ecommerce shoots, prioritise consistency above everything else. The same camera height for every look. The same body position as the starting point for each set. The same framing. When a catalogue contains 60 garments shot from slightly different angles, at slightly different heights, and with slightly different cropping, it looks amateurish — regardless of the quality of any individual image.
Tip 3: Styling Sets the Ceiling for What the Camera Can Capture
Retouching can remove a stray hair or a wrinkle that was missed. It cannot fix a garment that was not prepared properly, a necklace that sat crooked in every frame, or an accessory that competed with the garment for attention. Styling preparation directly sets the ceiling for image quality on the day.
Steam or iron every garment immediately before the shoot. Creases that are barely visible to the naked eye on a hanger will be sharp and obvious in a photograph. This applies particularly to fabrics like linen, cotton, and viscose that wrinkle rapidly.
Use body tape and wardrobe clips. Most professional fashion photographers and stylists carry garment tape and clips to adjust fit on camera — pulling a loose garment tight at the back, securing a lapel, creating a cleaner hem. What the camera sees matters more than what the model feels. These adjustments are invisible in the final image.
Check collar, cuffs, and hemlines before every shot. These are the three areas that attract the eye in fashion photography — and the three areas most likely to shift during a shoot. Build a 30-second check into the start of every look and between every major pose change.
Style accessories deliberately. A watch should show the face. A ring should be turned to the front. A necklace should sit centred. A bag strap should not cross the garment in a way that obscures the design. Accessories are product details — they deserve as much attention as the garment itself.
Tip 4: Composition Principles for Fashion
Fashion photography has its own compositional conventions that differ from general photography.
Leave negative space. Fashion images intended for campaign use, advertising, or social media need breathing room for text overlay, cropping for different formats, and visual clarity. Tight composition that fills every corner of the frame is harder to adapt for different uses. Shoot looser than you think you need to.
Avoid cropping at joints. Cropping the frame at a knee, ankle, or wrist is visually awkward — it makes the image look like it was accidentally cut off rather than deliberately composed. Crop mid-thigh or show the full length, mid-shin or full shoe. The same principle applies to hands, elbows, and shoulders.
Match your framing to the platform. Centre framing — model in the middle of the frame — works well for ecommerce catalogue images where clarity and symmetry are the priority. Off-centre, rule-of-thirds composition works better for editorial and lifestyle content. Knowing which context you are shooting for before you set the frame saves time on the day and in post.
Camera height changes everything in full-length shots. Shooting at eye level for a full-length image makes the model look their actual height. Shooting from slightly below eye level — at about chest height — elongates the legs and creates the proportions that are conventional in fashion photography. Shooting from above is unflattering for full-length fashion work unless the brief specifically calls for an overhead perspective.
Tip 5: Background and Location Choices
White seamless paper: The standard for ecommerce catalogue shoots. Consistent, platform-compliant, easy to replace when marked. Use a minimum roll width of 1.4m for full-length body shots with room on either side.
Cyclorama (infinity cove): A seamless curved background with no visible corner between the floor and wall. Creates a premium, expansive background that is particularly effective for activewear, campaign-style ecommerce, and full-length shots where the white paper setup would look constrained.
Textured backdrops: Concrete, painted flats, fabric, and architectural surfaces for editorial and lookbook content. The texture should complement the garment — a rough concrete wall works with streetwear; polished stone works with contemporary womenswear.
Outdoor locations in Singapore: Singapore’s architectural diversity gives outdoor fashion shoots genuine variety — from the conservation shophouses of Tiong Bahru to the brutalist architecture of the civic district to the greenery of the Botanic Gardens. The main challenge with outdoor shooting in Singapore is weather unpredictability and midday heat. Plan outdoor shoots for early morning or early evening, and have an indoor backup plan.
Tip 6: Post-Production Standards
Skin retouching: Minimal and natural. Remove blemishes and reduce shine. Never over-smooth to the point where skin loses texture — over-retouched skin looks artificial and undermines the credibility of the overall image. Fashion photography is not beauty photography; skin retouching should support the garment, not dominate the image.
Clothing retouching: Remove visible lint, stray threads, and creases that styling missed. Check hemlines, collars, and any area with fine detail that shows fabric imperfections at full resolution.
Colour accuracy: Garment colours in the final image must match the physical product. This is not optional for ecommerce — colour discrepancy is the primary source of fashion returns online. Calibrate your monitor, match white balance to the light source, and check final files against the actual garment before delivery.
Batch consistency: Apply the same retouching treatment to every image in a catalogue batch. Inconsistent skin tone, varying levels of contrast, and mismatched colour grading across a 60-image catalogue undermine the brand’s visual identity as severely as a single bad image.
When to Work with a Professional Studio
DIY fashion photography works at the very early stage, for a small number of garments, or for casual social media content. For ecommerce listings, lookbooks, or any imagery that represents the brand professionally, the ceiling on DIY work is low — and the gap between that ceiling and what a professional studio can produce is visible.
The right time to engage a studio is when image quality has a direct commercial impact: when you are listing on Zalora or Shopee and competing for the same buyer’s click, when you are launching a collection and the lookbook will be seen by press or wholesale buyers, or when your current visual standard is holding back the brand’s positioning.
→ See how GradePixel approaches fashion photography for brands in Singapore at our fashion photography studio.
→ For a full breakdown of ecommerce catalogue photography requirements and platform specs, read our guide on ecommerce catalogue fashion photography.
Frequently Asked Questions
What camera settings are best for fashion photography?
For studio fashion photography, start with aperture f/8 to f/11 for full-body shots where depth of field needs to cover the full garment, or f/5.6 to f/8 for tighter shots where slight background softness is acceptable. Shutter speed at 1/200s to sync with strobe. ISO 100 — keep it as low as possible. Shoot in RAW for maximum flexibility in post-production, particularly for colour correction.
How do I direct a model who has never been photographed before?
Start with simple, specific instructions about posture before asking for any expression or energy. “Stand with your weight on your back foot, shoulders slightly back, chin forward” gives the model something concrete to work with. Shoot frequently — the camera clicking reassures inexperienced models and produces more frames to select from. Show the model their images on a screen periodically — most people self-correct immediately once they see what the camera is capturing.
What is the ideal shoot ratio for a fashion photography session?
For ecommerce catalogue work, a ratio of 20–30 frames per look is typical — enough to cover slight variations in posture and expression, without generating excessive files. For editorial and lookbook work, 50–100 frames per look is common, because the creative selection process requires more material. Higher ratios are not necessarily better — a photographer who needs 200 frames to get 3 selects is not working efficiently on a commercial shoot day.
GradePixel is a fashion photography studio in Singapore. We shoot ecommerce catalogues, lookbooks, and campaign visuals for fashion brands. Contact us to discuss your next shoot.
A title
Image Box text
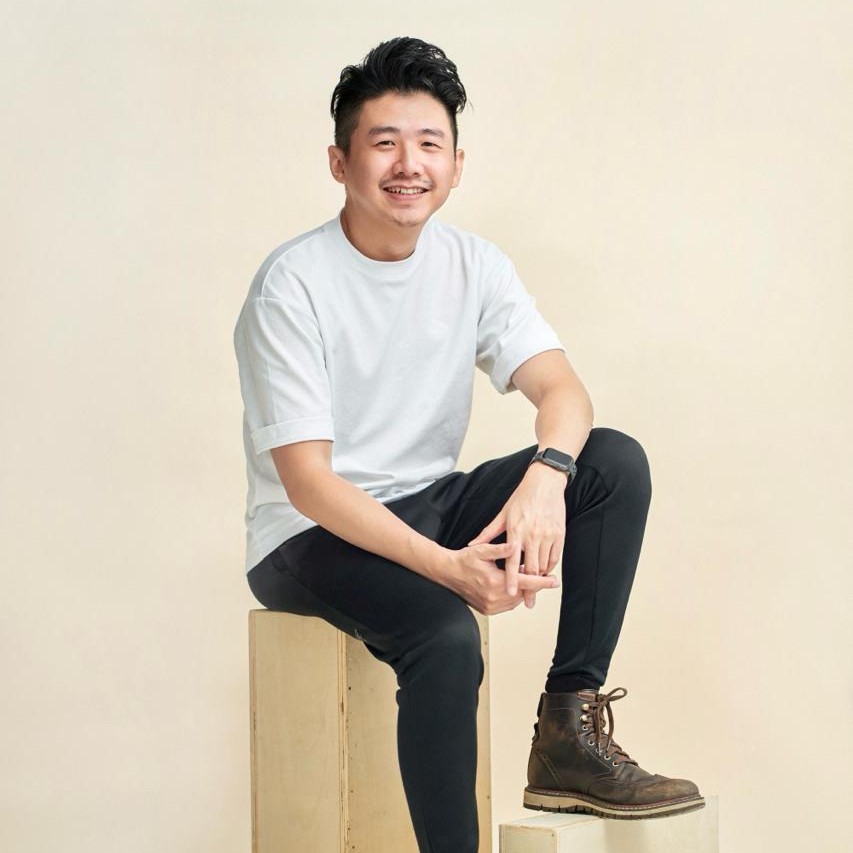
Sylvester Lim - Founder of GradePixel
I’m Sylvester, founder of GradePixel, a commercial photography and video production studio in Singapore with over 10 years of experience. I’ve worked with brands across product, food, fashion, and corporate sectors, helping businesses create clean, effective visuals that drive real results. My focus is always on practical, high-quality production that works for marketing.