What Happened During Our Food Shoot
BEHIND THE SCENES LOOK AT OUR FOUR SEASONS’ SHOOT
Food photography is an exciting and challenging genre of photography that requires a great deal of preparation, attention to detail, and technical skills. A food photography shoot involves much more than just pointing a camera at a plate of food and pressing the shutter button. In this blog post, we will take a closer look at what happens during a food photography shoot and what goes into creating those mouth-watering images that we see in cookbooks, magazines, and advertisements.
1. Pre Shoot Production
Before our actual shoot, we (the food photographer and the client) discuss the concept, mood, and style of the images. We also decide on the type of food, props, and backgrounds to be used. Once the food and props are chosen, we make a detailed list of the equipment needed for the shoot, including cameras, lenses, lighting, and accessories.
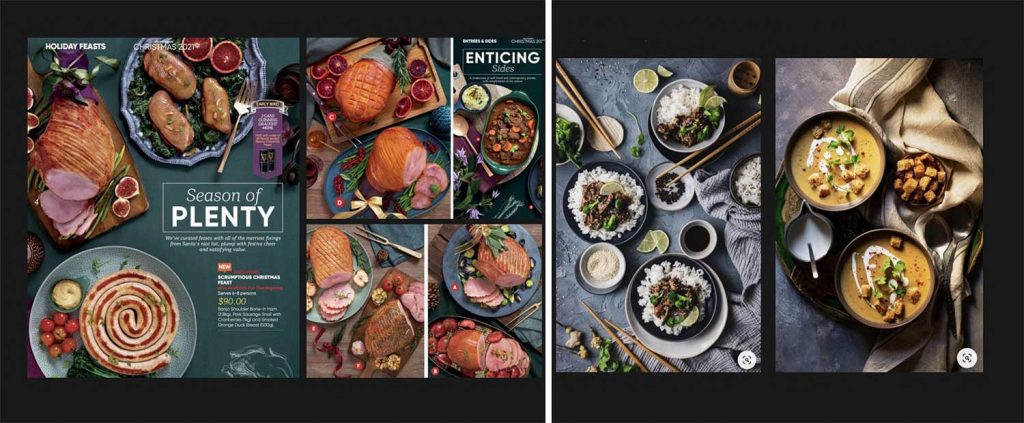
Moodboards done by our Client and us for reference
2. Setting up the Scene
On the day of our shoot, we arrived at the location and began setting up the scene. We chose the best spot for the shoot, arranged the props, and set up the lighting. We determined the angle and composition of the shot and tested various settings on the camera to get the perfect exposure.
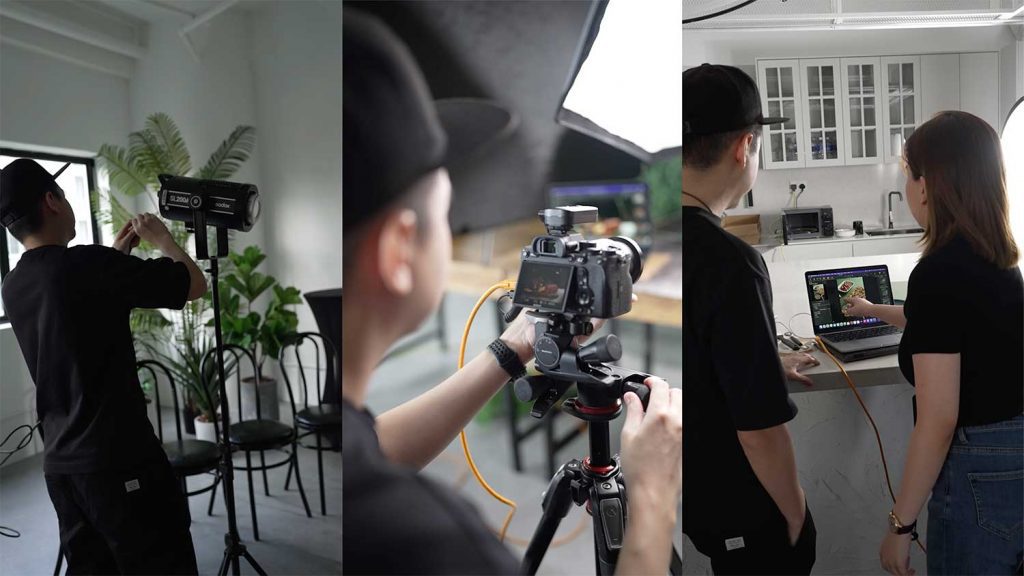
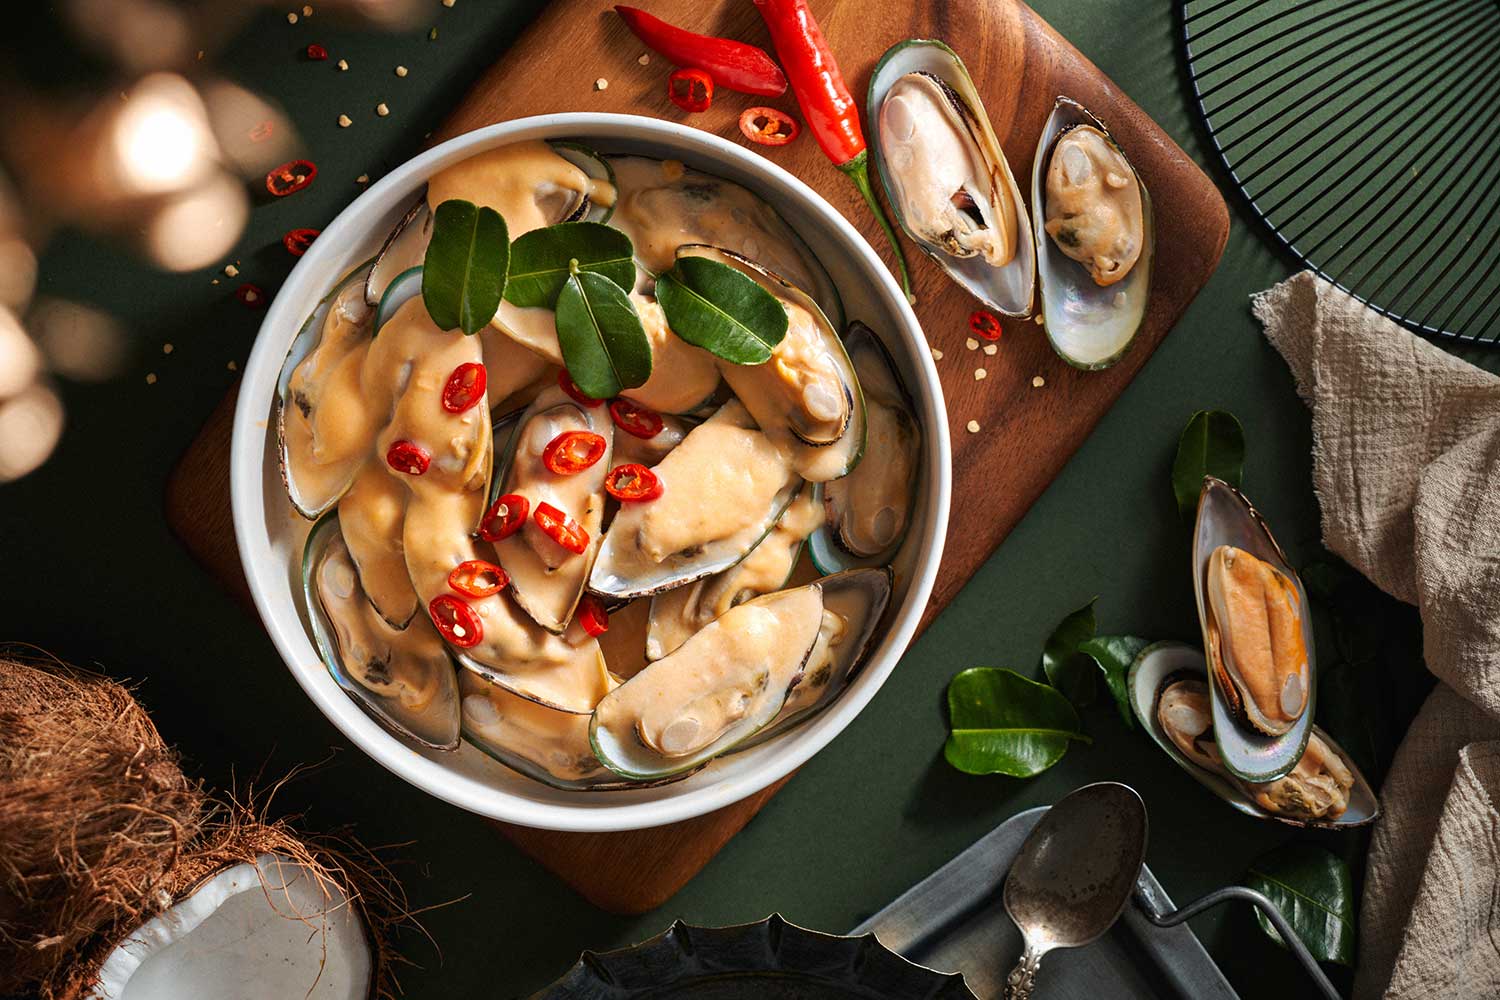
Photo from GradePixel
3. Styling the Food
Next, we worked with the food stylist to prepare the food. The food stylist selected the best-looking ingredients, arranged them on the plate, and added any additional elements such as sauces, herbs, and garnishes. We worked closely together to ensure that the food looked as appetizing as possible
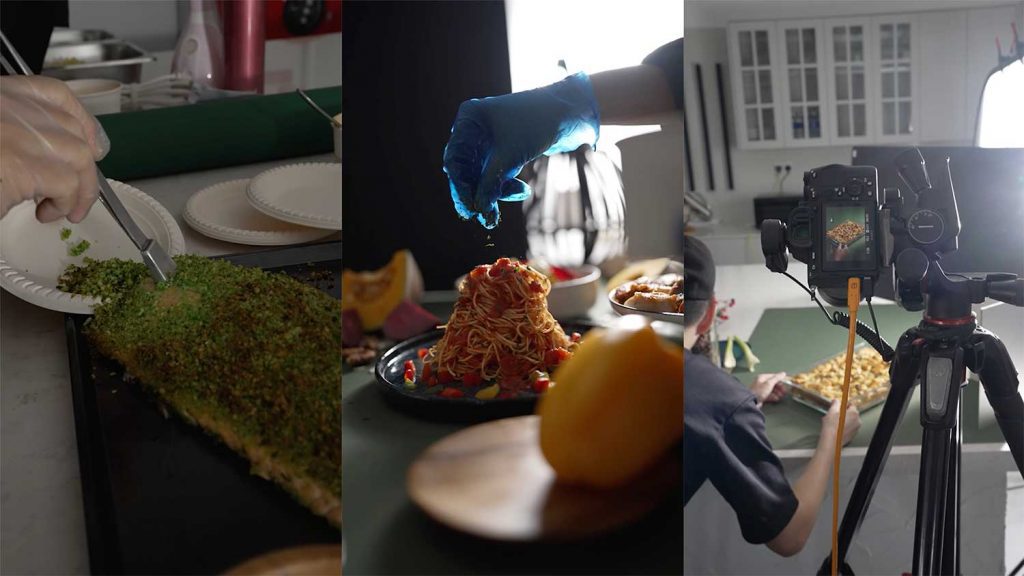
Photo from GradePixel
4. Capturing the Images
Once everything was in place, we started taking the shots. We used a variety of techniques to create a range of images, including close-ups, wide shots, and angled shots. We experimented with different camera settings, such as aperture, shutter speed, and ISO, to achieve different effects.
Throughout the shoot, we worked closely with the food stylist to ensure that the images met the client’s brief. We made adjustments to the food and props, as well as to the lighting and camera settings, to create the perfect shot. We took a series of shots to provide the client with a range of options.

Photo from GradePixel
5. Post Production
After the shoot was over, we transferred the images to our computer and began the post-production process. We selected the best images and edited them using software such as Adobe Photoshop or Lightroom. We adjusted the exposure, color balance, and sharpness of the images, as well as removing any blemishes or distractions.
Finally, we delivered the final images to the client in the agreed format and resolution. The client may then use the images for a range of purposes, including advertising, marketing, and editorial use.
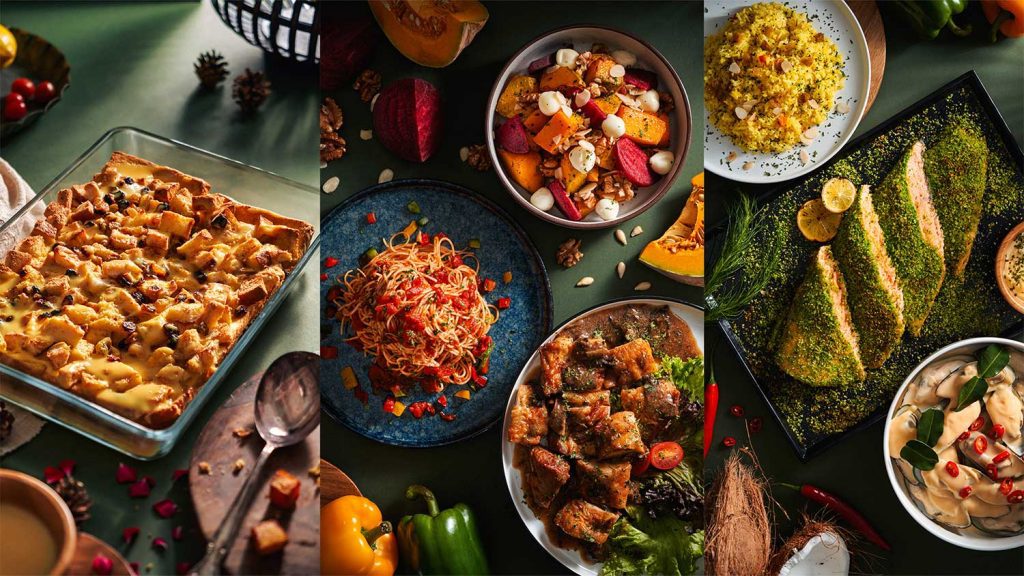
Photo by GradePixel