
How to Shoot Product Photography: A Step-by-Step Guide
Learn how to shoot product photography with the right setup, lighting, backgrounds, and camera settings. A practical guide for brands and ecommerce sellers
May 28, 2026 • gradepixel
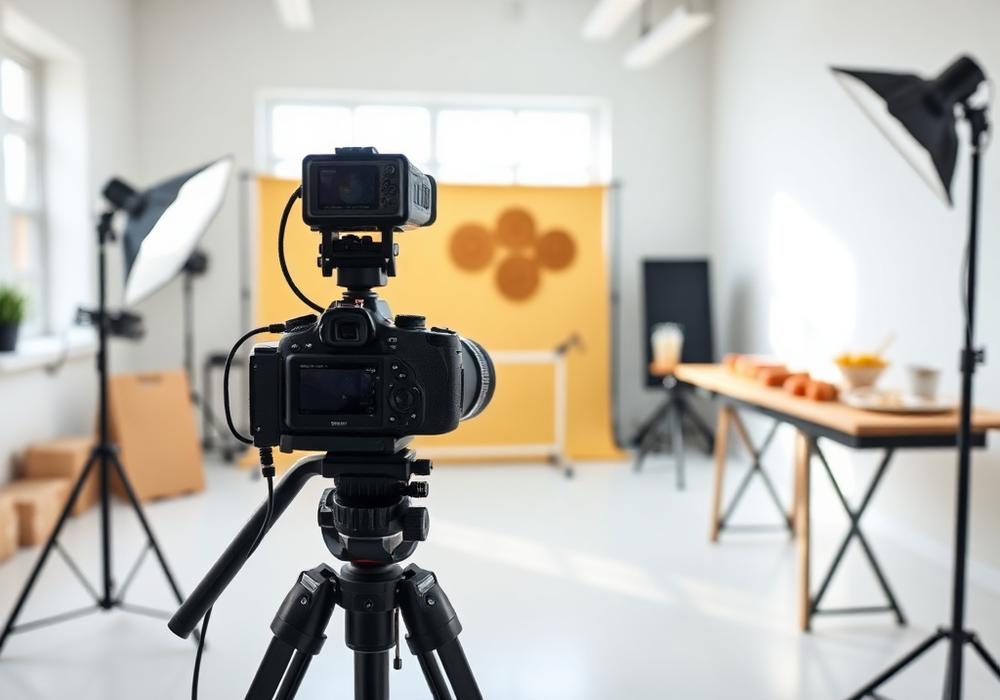
Good product photography does not require a professional studio on day one. What it requires is the right setup, consistent technique, and a clear understanding of what your platform actually needs. This guide walks through everything — from equipment and lighting to camera settings, angles, and basic editing — so you can produce usable product images at any stage of your business.
What You Need: Equipment Overview
Before setting anything up, get your equipment right. You do not need the most expensive gear to produce clean, platform-ready images — but certain fundamentals are non-negotiable.
Camera Options
A dedicated camera gives you more control over depth of field, shutter speed, and image quality than a smartphone. That said, modern smartphones with pro modes can produce strong results for early-stage or low-volume needs.
- DSLR or mirrorless (recommended): Full control over exposure, depth of field, and lens choice. Strong options include the Sony A7 series, Canon EOS R series, Fujifilm X-T series, and Nikon Z series. Any of these, paired with a 50mm or 90mm macro lens, will produce professional-quality results.
- Smartphone: iPhone 14 Pro or above, Samsung Galaxy S23 or above. Use Pro or Manual mode to control ISO, shutter speed, and white balance. Shoot in RAW if your phone supports it.
- Avoid: Point-and-shoot cameras or older smartphone models. The lack of manual control makes consistent results difficult.
Lighting Setup
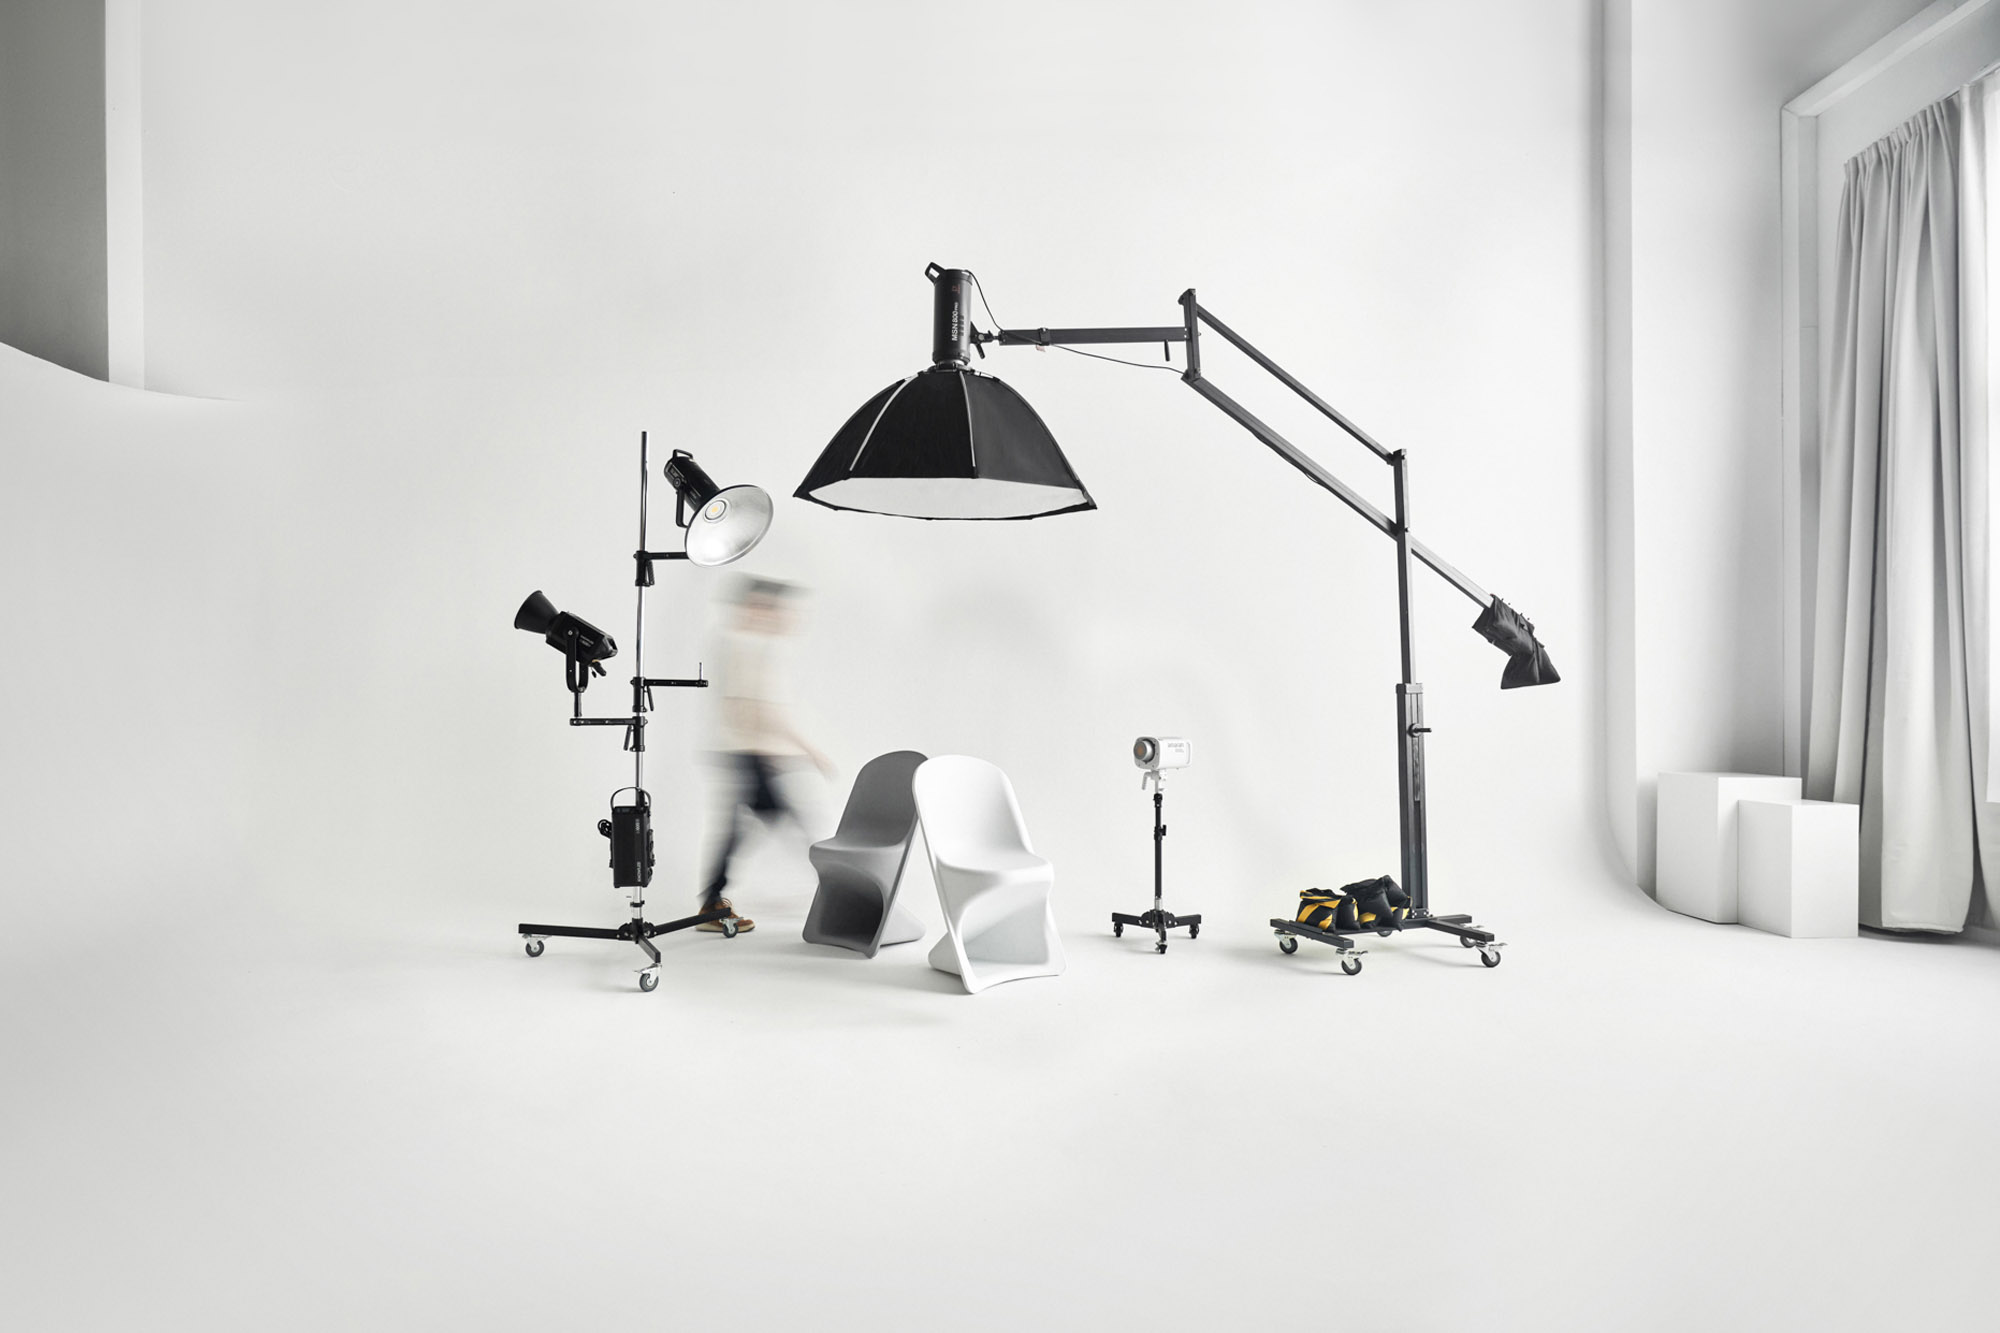
Lighting is the single biggest factor in product photography quality. Your options are natural light or artificial — both work, but they have different limitations.
- Natural light: A large, north-facing window provides diffused, consistent light that works well for most products. Best for daytime-only shoots and products that do not require precise colour matching.
- Continuous LED panels: Adjustable colour temperature, always-on, easy to work with. Good for video as well. Look for panels rated at 5,500K daylight with CRI 95+.
- Strobe with softbox: The standard for professional product studios. More power, more control, freezes motion. Requires more setup time but produces the sharpest, most even results.
- Avoid: Built-in camera flash (harsh, flat light), desk lamps or home bulbs (wrong colour temperature), and mixing different light sources in the same shot.
Background Options
- White seamless paper roll: The most versatile and professional option. A 1.35m wide roll mounted on a background stand creates a clean, seamless sweep from wall to floor. Required for Amazon main images.
- Foam board: A cheap, accessible alternative for smaller products. Two pieces — one as a base, one as a back wall — create a basic white sweep.
- Styled surfaces: Marble contact paper, wood boards, linen fabric, or painted MDF for lifestyle-style flatlay shots. Keep a small collection of neutral textures for variety.
Supporting Gear
- Tripod: Essential. Keeps the camera locked in position between shots, which is critical for consistency across SKUs. Even small camera movements create noticeable inconsistency in a batch.
- Remote shutter release or self-timer: Eliminates camera shake from pressing the shutter button manually. A two-second self-timer works as an easy alternative.
- Bounce card or reflector: A white foam board or collapsible reflector placed opposite your main light source fills in shadows without adding another powered light.
Setting Up Your Shoot Space
You do not need a dedicated studio room. A spare corner with the right setup is enough to shoot clean product images. Here is how to configure it.
- Choose a room with controllable light. Ideally a room where you can block out ambient light if shooting with artificial lights, or one with a large, consistent window if shooting natural light.
- Position your light source at roughly 45 degrees to the product. This creates natural-looking shadows that give the product dimension without being harsh.
- Set up your background sweep. Mount the paper roll high on a wall or stand, let it curve naturally to the surface below, and tape or clamp it in place. The curve eliminates the visible line where wall meets floor.
- Place your product well in front of the background. At least 60cm between the product and the background prevents shadows from the product falling on the white surface — a common problem that creates a grey, patchy background.
- Mount your camera on a tripod at product height. For most products, this means the lens is level with the mid-point of the product, not shooting down at it. Lock in your framing before you start shooting.
Camera Settings for Product Photography
Manual mode gives you full control and reproducible results across every shot. Here are the settings to start with.
- Aperture: f/8 to f/11. This range gives sharp focus across the full product without the background softness of a wide aperture. For very small products like jewellery, you may need f/16 to bring all details into focus.
- Shutter speed: 1/125s or faster to eliminate any risk of motion blur. If shooting with a flash or strobe, match your shutter speed to your camera’s flash sync speed (typically 1/200s).
- ISO: As low as possible — ISO 100 or 200. Low ISO preserves image quality and avoids digital noise, especially in shadow areas. If your image is too dark at ISO 100, add more light rather than raising ISO.
- White balance: Set manually. Match it to your light source — approximately 5,500K for daylight or LED panels rated at daylight, 3,200K for tungsten. Consistent white balance across a shoot is what keeps colour accurate when you open the files in editing.
- File format: Shoot RAW if your camera supports it. RAW files retain far more data than JPEGs, which gives you much greater flexibility in post-production — especially for white balance correction and exposure recovery.
Lighting Techniques That Work
The Three-Point Lighting Setup
The three-point setup is the standard starting point for product photography because it gives you full control over shadows and dimension.
- Key light: Your main light source, positioned at 45 degrees to the left or right of the product. This is what illuminates the product and creates the primary shadows.
- Fill light: A second, lower-powered light (or a white reflector) positioned on the opposite side of the product. Its job is to reduce — but not eliminate — the shadow cast by the key light. The fill should be noticeably dimmer than the key to preserve a sense of depth.
- Background light (optional): A third light aimed at the background. This separates the product from the background, making the white appear brighter and cleaner without relying solely on post-production.
Shooting with Natural Light
Natural window light can produce excellent results, especially for smaller products. Position the product close to a large window and use a white foam board opposite the window as a reflector to fill in the shadow side. If the light is harsh or direct, tape a sheet of white tracing paper or a sheer curtain over the window to diffuse it.
The limitation of natural light is consistency. It changes throughout the day as the sun moves, and on overcast versus clear days. For shooting small batches, it works well. For large catalogue shoots where you need to match images shot days apart, artificial light is far more reliable.
Common Lighting Mistakes to Avoid
- Direct flash. Built-in camera flash fires from directly behind the lens, producing flat, harsh light with no shadow depth. Never use it for product photography.
- Mixed colour temperatures. Daylight coming through a window mixed with a warm tungsten desk lamp creates two different colour casts on the same product. Use one type of light source consistently.
- Unmanaged reflections. Glossy surfaces — glass bottles, polished metal, lacquered packaging — reflect everything around them, including the camera, the ceiling, and the photographer. Managing these reflections requires either a polarising filter or a softbox large enough to fill the reflective surface with a single, even light source.
Angles That Consistently Work
Different products need different angles. Here is a practical starting point:
- Front view: The default for catalogue images. Shows the product face-on, clearly and accurately.
- 45-degree angle: The most natural-looking angle for most products. Shows depth and gives the image a three-dimensional feel.
- Top-down (flatlay): Works particularly well for accessories, packaged goods, and products where the arrangement or layout is part of the story.
- Detail shot: Move in close to capture texture, material quality, labelling, stitching, or any feature that affects the buying decision. This is often the most overlooked and highest-value image type.
Basic Post-Processing
Editing is not where you fix problems — it is where you finalise what the camera has already captured well. These are the core adjustments every product photo needs.
- White balance correction: If colour is off, fix it first. Use the white background as your reference — it should be neutral white with no colour cast.
- Exposure and contrast: Bring up shadows slightly if the product looks flat, and adjust contrast to match how the product looks in real life.
- Background clean-up: Even with a clean paper sweep, white backgrounds often need a brightness boost in editing to appear truly white. Use a curves or levels adjustment targeted at the background area.
- Colour accuracy check: Hold your product next to the screen and compare. Adjust if the colours on screen do not match the physical product.
- Export settings: JPEG at high quality (90–95%) in sRGB colour space for all web and marketplace use. Name files consistently — for example,
product-name_angle_variant.jpg— to keep your catalogue organised.
When It Makes Sense to Work with a Studio
DIY photography has a clear ceiling. When any of the following applies, the time and risk cost of DIY typically exceeds the cost of a professional studio:
- Your catalogue has grown past 30–50 SKUs and shooting consistency is becoming difficult to maintain
- You are listing on Amazon Singapore and need images that meet their technical specifications reliably
- Your brand positioning has moved upmarket and your current images are holding back conversion
- You are preparing for a product launch and need a complete image set delivered within a defined timeline
→ See how we handle ecommerce product catalogues for brands in Singapore at our product photography services.
→ If you are preparing for Amazon or Shopee listings specifically, read our guide on ecommerce product photography in Singapore for a full breakdown of platform requirements.
Frequently Asked Questions
What camera is best for product photography?
Any modern mirrorless or DSLR camera paired with a 50mm or 90mm macro lens will produce professional results. Sony A7 series, Canon EOS R series, and Fujifilm X-T series are all strong choices. The lens matters more than the camera body — a sharp 50mm on an entry-level body outperforms a kit lens on a higher-end camera.
Can I do product photography with a smartphone?
Yes, for early-stage and low-volume needs. Use a recent iPhone or Android flagship, shoot in Pro or Manual mode, enable RAW capture if available, and mount the phone on a tripod. The main limitation is low-light performance — smartphone sensors struggle without strong, well-controlled lighting. With a good window and a reflector, results can be solid.
What lighting do professional product photographers use?
Most professional product studios use strobe lighting — typically one or two heads with large softboxes — because it provides maximum power, precise colour temperature control, and consistent output across every shot. Continuous LED panels are an increasingly common alternative, especially for studios that also produce video content alongside photography.
GradePixel is a product photography studio based in Singapore. We work with ecommerce brands, distributors, and marketing teams across all product categories. Get in touch to discuss your next shoot.

A title
Image Box text
Sylvester Lim - Founder of GradePixel
I’m Sylvester, founder of GradePixel, a commercial photography and video production studio in Singapore with over 10 years of experience. I’ve worked with brands across product, food, fashion, and corporate sectors, helping businesses create clean, effective visuals that drive real results. My focus is always on practical, high-quality production that works for marketing.